Last updated November 21, 2026
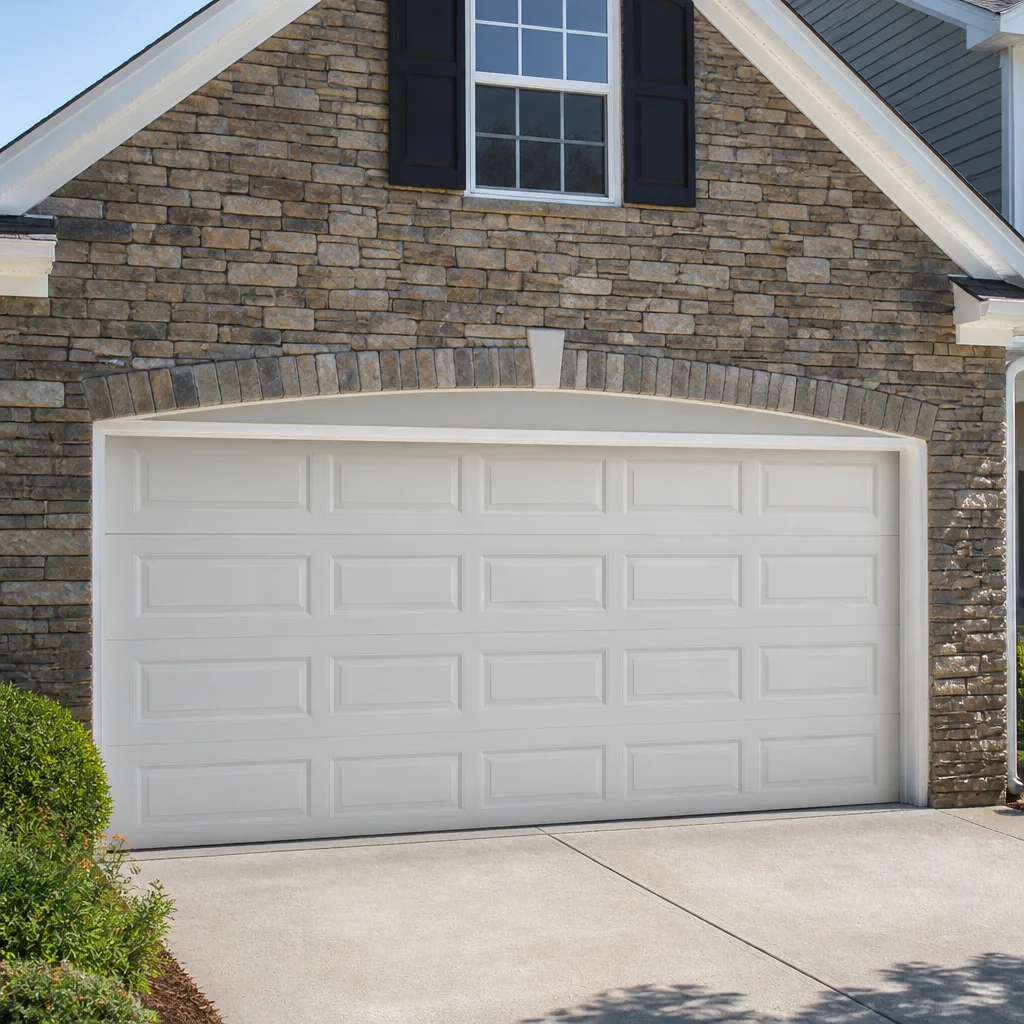 Raised-panel steel
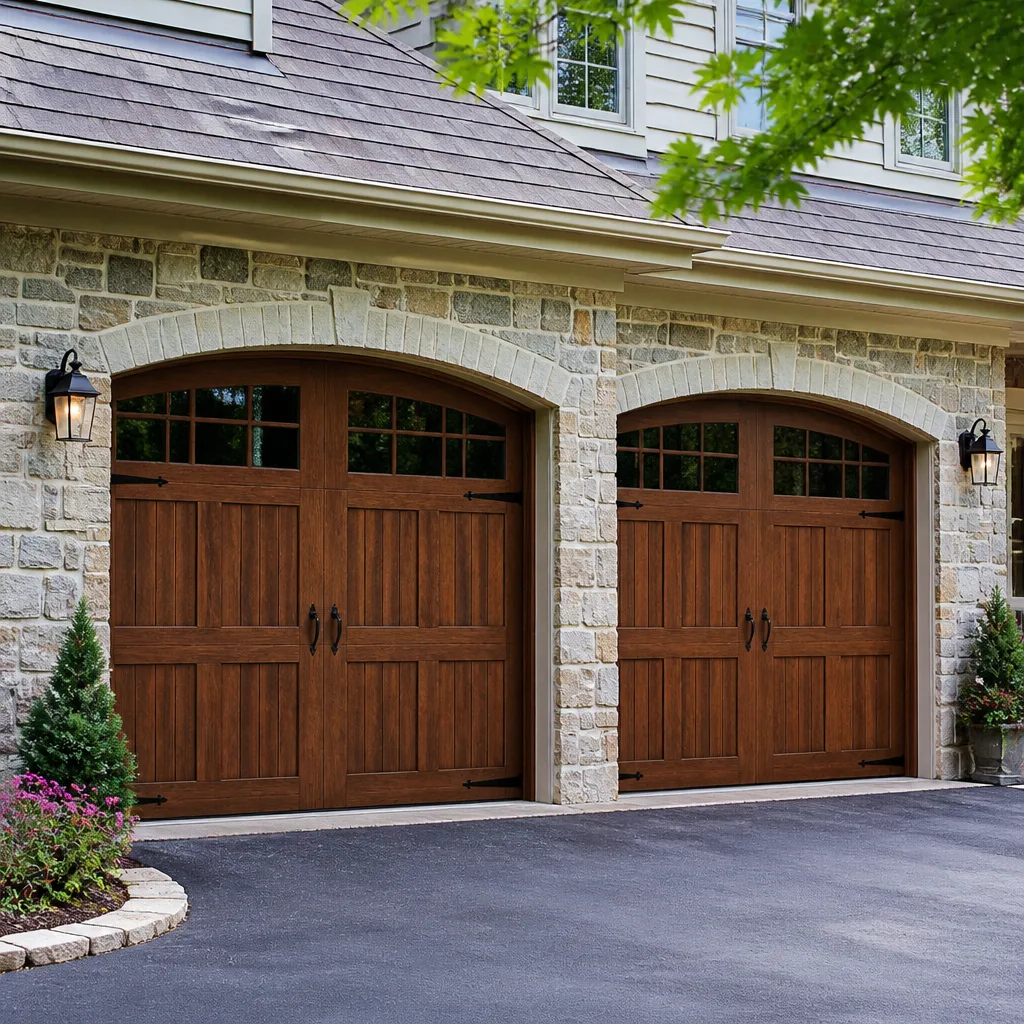 Carriage house
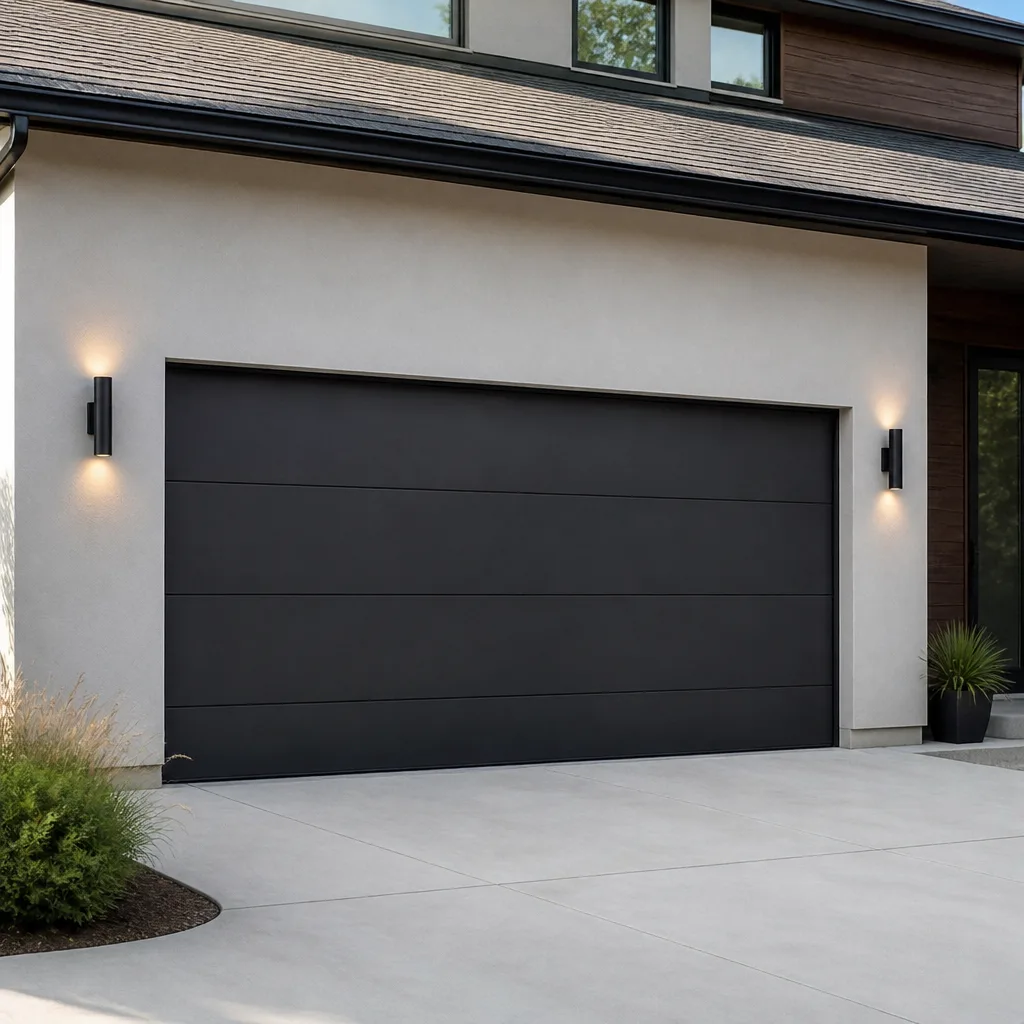 Modern flush
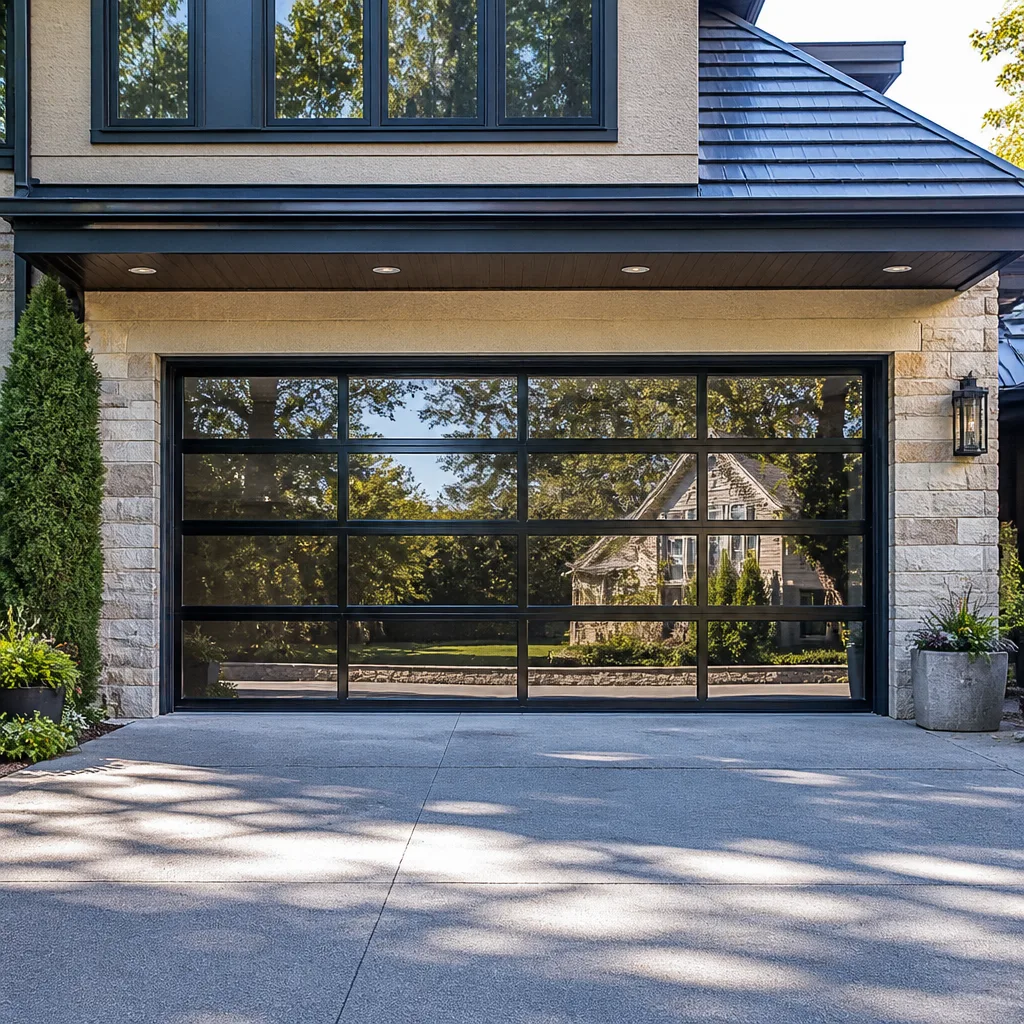 Full-view glass
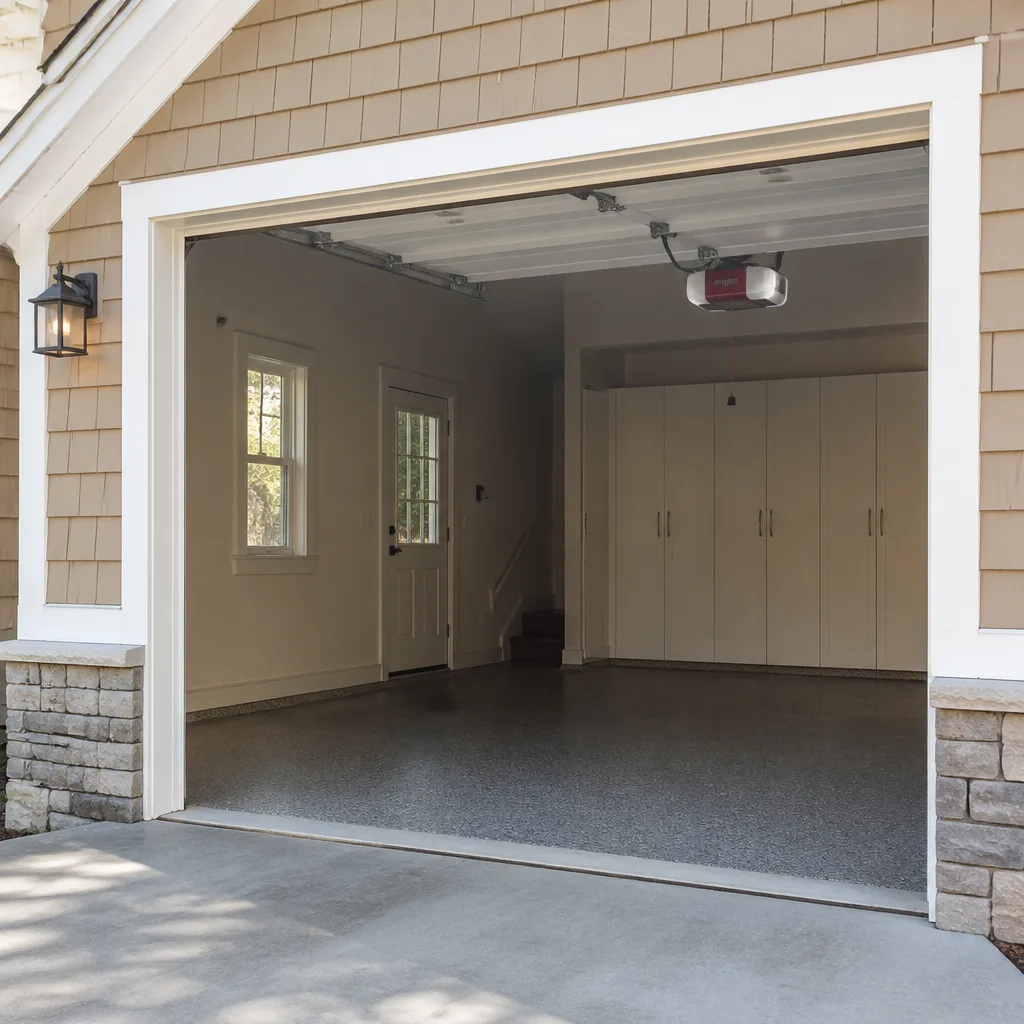 LiftMaster openers
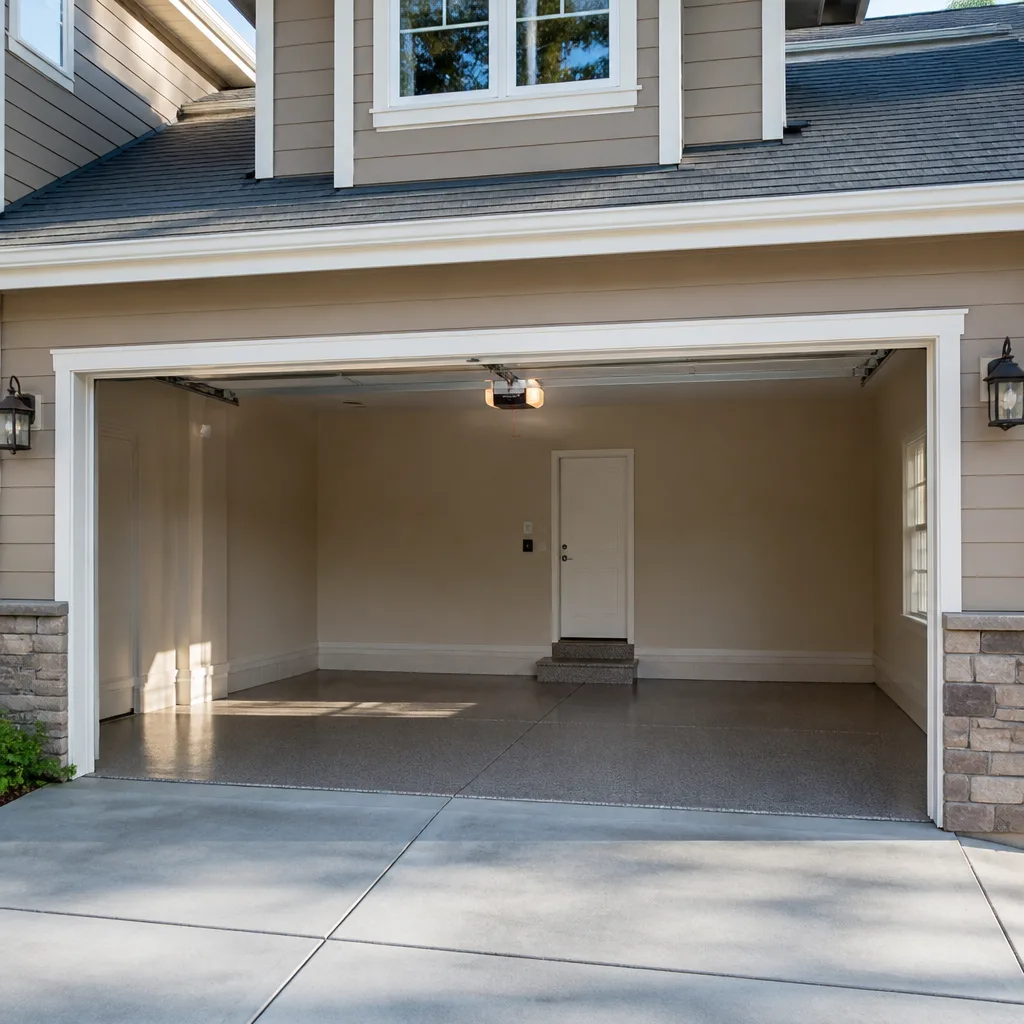 Chamberlain openers
Full 25-point door and opener safety check with every visit - springs, cables, rollers, tracks, and your LiftMaster or Chamberlain opener included
You get a price before we start. It does not change when the pro arrives.
Get your free estimateGarage Door Repair Maintenance Checklist for Providence Homeowners
The number one maintenance mistake Providence homeowners make isn’t skipping lubrication. It’s lubricating the wrong parts with the wrong product and creating more friction than they started with. Spray a torsion spring with a thin solvent-based lube and you’ve just washed away the factory grease that keeps it turning quietly. Do the same on nylon rollers and you’ll attract grit that grinds the bearings flat. This guide ranks the actual failure patterns we see across Providence by how fast a small problem turns into an emergency, tells you the right lubricant for each component, shows you how to check spring tension without putting your hands near the strike zone, and separates the jobs you can safely do yourself from the ones that can take a finger.
Quick Answer
A useful garage door maintenance checklist covers four things: correct lubrication of hinges and rollers (never springs or tracks), a balance and spring-tension check done from a safe distance, a visual inspection of cables and rollers for fraying and flat spots, and tightening the moving bolts before winter freeze cycles work them loose. Do the visual and mechanical checks monthly, lubricate twice a year, and call a technician the moment you see a frayed cable, a bent track, or a door that slams instead of eases.
Styles & brands we work with
- Raised-panel steel
- Carriage house
- Modern flush
- Full-view glass
- LiftMaster openers
- Chamberlain openers
Table of Contents
- Why Providence Garage Doors Fail Faster Than You’d Expect
- The Right Lubricant for Every Component (and the One to Avoid)
- How to Test Balance and Spring Tension From a Safe Distance
- The Three Bolts to Check Every Fall Before the First Hard Freeze
- Visual Inspection Sequence: Cables, Rollers, Panels, and Tracks
- Opener Diagnostics and Smart-Home Platforms
- Legitimate DIY vs. Tasks That Look Safe But Aren’t
- Seasonal Maintenance Calendar for Rhode Island
Why Providence Garage Doors Fail Faster Than You’d Expect
Providence sits in a climate with real seasonal swings. Cold, damp winters push metal through repeated expansion and contraction. Snow sits against the bottom seal. Spring arrives wet and stays wet, and grit rides up into the tracks off tires and driveways. By the time summer humidity hits, the door has already worked through a full mechanical cycle of temperature stress, and any loose bolt or dry hinge is now noticeably loose or noticeably dry.
The neighborhoods that show this most clearly are the ones with older housing stock and tight driveways: Federal Hill, Mount Pleasant, Elmwood, the East Side, and the streets off Atwells and Broadway. In these areas a garage door is often undersized for a car, so the door clears tight openings and sees heavy daily use. Older doors with single-panel construction, older openers, and original hardware just accumulate wear faster when they’re doing tight-clearance duty.
The pattern we see most in Providence, ranked by escalation speed:
- Cable fraying (escalates fastest). A few broken strands become a full snap, and a snapped cable on a door under tension can drop the door or throw it sideways within days. This is the number one “call today” issue.
- Spring fatigue (escalates steadily). A torsion or extension spring loses tension quietly until the door feels heavy and the opener strains. Then it breaks, usually on a cold morning.
- Roller wear (slowest but most expensive if ignored). Worn rollers chatter, wear the track, and pass stress to the hinges and the opener’s drive gear.
- Loose mounting bolts (quiet, then sudden). Vibration works bolts loose; an under-tightened bracket can drop the door off the track in one operation.
- Opener wear (slow creep). The drive gear, the travel limits, and the safety sensors degrade gradually until the door reverses instead of closing.
Most of these aren’t emergencies. They’re early warnings. A checklist matters most because it lets you catch them in the warning phase instead of the failure phase. That’s true whether you own a Clopay steel door on the East Side or an Amarr carriage-house style on a Federal Hill carriage house conversion.
The Right Lubricant for Every Component (and the One to Avoid)
Here’s the counterintuitive part. The wrong lubricant is worse than no lubricant. Applying WD-40 to the springs and tracks is textbook for a lot of homeowners, and it’s exactly the move that turns a quiet door into a noisy one. WD-40 is a solvent and light water displacement, not a long-term lubricant. On a torsion spring it cuts the factory grease right off. On the tracks it leaves a tacky film that grabs grit, and grit plus steel equals accelerated wear.
What to use where:
- Torsion springs and extension springs: a proper garage door spring lubricant or a thick lithium grease designed for the application. Apply a light coat, not a heavy one. If you don’t have it, leave the springs alone until a technician can look.
- Hinges: white lithium grease or a purpose-made garage door lubricant. One short spray at each hinge pivot, then wipe away the excess.
- Steel rollers: the same light grease, sparingly. Nylon rollers and bearings typically need no lubrication at all; oil attracts dust and shortens their life.
- Tracks: never grease or oil the track itself. If the track is dirty, wipe it with a dry cloth or a slightly damp cloth, nothing more.
- Opener rail and chain: use the specific chain and rail lubricant on a chain-drive opener (LiftMaster and Chamberlain chain drives, and most Genie chain and belt models are common here). Belt-drive openers usually need none.
A good rule of thumb for Providence: lubricate moving parts in early fall (before the hard freeze) and again in late spring (after the winter grind). Keep the product off the photo-eye lenses, the seal, and the painted finish. One short spray per hinge, not a soaking.
| Component | What to Use | What NOT to Use |
|---|---|---|
| Torsion and extension springs | Thick spring or lithium grease | WD-40, silicone spray |
| Hinges | White lithium grease | Oil that attracts grit |
| Steel rollers | Light grease, sparingly | Heavy grease, overspray |
| Nylon rollers | Nothing | Oil of any kind |
| Tracks | Dry wipe only | Grease, oil, WD-40 |
| Chain or belt | Chain or rail lube (chain drives) | Everyday spray lubricant |
If your door has gotten louder over the last few seasons despite lubrication, that’s a sign something mechanical has changed, not just dried out. That’s the point to bring in garage door repair help rather than keep spraying.
How to Test Balance and Spring Tension From a Safe Distance
The single most important safety rule of the whole checklist: never put your hands or a tool within reach of a torsion spring, the winding cones, or the cable drums. Torsion springs, in particular, are under a tremendous amount of stored energy. When they fail, they fail violently. A technician winds a spring with specialty winding bars and the door properly counterbalanced. A homeowner does not.
The safe version of the balance test is done with the door disconnected from the opener, using only your hands on the door itself, never on the spring system:
- Close the door fully and disconnect the opener using the emergency release cord. Pull the cord smoothly, not sharply.
- Lift the door manually to about waist height, then to halfway open. The door should glide with modest effort.
- Stop the door at the halfway point. If it stays put or moves only slightly, the springs are balanced. If it drops hard, the springs have lost tension.
- If it rises on its own, the springs are over-tensioned (rare, and requires immediate attention).
- Reconnect the opener and test the auto-reverse by putting a piece of wood flat on the ground and closing the door. It should reverse on contact.
Symptoms that mean “don’t test further, call a technician”: a loud bang from the garage, a visible gap in a spring coil, a horizontal gap in an extension spring, a door that hangs crooked, or a cable that’s gone slack on one side. Any of these means the balance system has failed and the door is unsafe to operate manually. That’s a same-day call, not a next-weekend project.
Spring repair is a safety-critical job. We handle it in-house, with proper tools and tension-release technique, because it’s not the kind of thing a generalist should subcontract. If your Providence door needs spring work, we treat it as a primary specialty, not a favor.
The Three Bolts to Check Every Fall Before the First Hard Freeze
Freeze-thaw cycles are hard on hardware. Every October, before the first real hard freeze settles in, check these three bolts. They’re the ones that loosen most from vibration and then turn into a track that’s out of alignment or a hinge that’s carrying too much load.
- Hinge bolts at the bottom two sections. These carry the most load and loosen fastest. Use the correct-size wrench, snug (not over-torqued), and check that each hinge pivot is still tight against the door section.
- Track mounting bolts (both vertical and horizontal). The track brackets bolted to the wall or door jamb loosen over time, especially on older Providence homes where the jamb is wood. Snug the bolts, then check that the track is vertical and level. If it’s visibly out of alignment, don’t force it; that’s a call.
- Opener rail and header bracket bolts. This is the assembly that pulls the door up. Loose bolts here lead to a sagging rail, a strained opener, and eventually a snapped rail section. Check the bolts at the header bracket and where the rail meets the opener housing.
While you’re out there, look at the door’s bottom seal and weatherstrip. A worn seal lets cold air and moisture in, and in Providence the seal sees a lot of up-and-down against a frozen or slushy driveway. Replace seals that are cracked, stiff, or torn away. This is a genuinely safe DIY task.
If, while tightening, you notice a hinge plate that’s cracked, a bent section, or a bolt that spins freely in its hole, stop. That indicates stress on the structure and should be looked at by a technician. The same goes for any visible damage to the door panels themselves, which is where our garage door installation team can talk you through repair versus replacement.
Visual Inspection Sequence: Cables, Rollers, Panels, and Tracks
Run this visual sequence once a month, top to bottom, with a flashlight and the door in the closed position (power disconnected via the opener or the wall switch). It takes about five minutes. You are looking, not touching the high-tension components.
- Cables. Look at the cables on both sides of the door. You want smooth, evenly tensioned steel. Any fraying, kinks, or a cable that’s gone slack on one side means stop and call. Frayed cables are the top escalation risk on the whole checklist.
- Springs. From a distance, look at the torsion spring along the top of the door or the extension springs above the tracks. A spring with a visible gap, a stretched coil, or rust pitting is a candidate for replacement. Again: look, don’t touch.
- Rollers. Check each roller where it sits in the track. Smooth steel rollers should spin freely. Nylon rollers should look clean and round. Flat spots, cracks, or a wobble as you watch the door operate mean replacement.
- Hinges. Look for cracks at the hinge plates and for hinges that have pulled away from the panel. Worn hinges are the most common cause of a door that rattles.
- Panels. Look for dents, cracks, or separations between sections. On steel doors, look at the bottom panel for rust, which is common in Providence given winter road salt tracked up a slushy driveway.
- Tracks. Check that the tracks are straight and parallel with a visible gap on each side. Look for dents or kinks, especially at the curve where the door transitions from vertical to horizontal.
- Weather seal and bottom seal. Cracks, tears, or hardening. Cheap, fast, worth doing.
- Safety sensors and photo-eye lenses. Aligned and clean. A dirty lens on a Genie or Chamberlain opener is the most common cause of a door that won’t close.
Keep a phone open while you’re looking and photograph anything odd. It’s much easier to describe a frayed cable to a technician on the phone when you’ve got a picture of it.
Opener Diagnostics and Smart-Home Platforms
The opener is the easiest part of the system to diagnose because modern openers, particularly the Wi-Fi-connected ones from LiftMaster, Chamberlain, and Genie, tell you what’s wrong. If your door has started reversing on its own, won’t fully close, or stops partway, run through this short diagnostic before assuming the opener’s finished.
- Check the safety sensors first. Misaligned or dirty sensors cause the majority of “won’t close” calls. The lens should blink when something is in the path; clean both lenses and check alignment.
- Check the wall switch and the remote. If the wall switch works and the remote doesn’t, it’s a remote or battery issue, not the opener.
- Check the travel limits. Openers stop the door at a set point. If the door doesn’t reach the floor or slams into it, the travel limits need adjusting.
- Check the force settings. Modern openers reverse on force detection. If your door reverses on the way down, it may be sensing an obstruction from dry or misaligned tracks. That’s a mechanical problem, not an electronic one.
- Check the app or the diagnostic LED. On a connected LiftMaster or Chamberlain unit, the app or the diagnostic error code tells you what the system thinks went wrong.
What we see across Providence in both legacy and connected systems is that many perceived opener failures are actually track, roller, or spring problems the opener is dutifully reporting. Repairing the door usually fixes the opener. When the opener itself needs work, our garage door opener repair team handles the electronics on the smart-connected platforms and the older mechanical units, including LiftMaster, Chamberlain, Genie, and Craftsman.
Legitimate DIY vs. Tasks That Look Safe But Aren’t
Homeowners do a lot of damage trying to do things that feel safe because they don’t involve the springs. Here’s the honest split.
Legitimate DIY
- Lubrication of hinges and steel rollers (correct products only).
- Wiping the tracks clean with a dry or slightly damp cloth.
- Testing the auto-reverse with a piece of wood.
- Tightening the visible bolts on hinges and track brackets.
- Cleaning the photo-eye lenses.
- Replacing the bottom seal and weatherstrip.
- Changing remote batteries and re-pairing a remote or wall switch.
Not DIY: Looks Safe, Isn’t
- Torsion spring adjustment or replacement. The most dangerous job in the trade. Springs are under huge stored energy, and the winding process requires proper bars and technique. A wrong move can break a hand or worse.
- Cable replacement. A slack cable on an unbalanced door can snap under load. Cable work is done with the door secured and the spring tension properly released first.
- Track realignment. Looks like a matter of a rubber mallet and a wrench. Actually a matter of releasing spring tension, getting the track true, and re-tensioning safely.
- Hinge replacement on a torsion system. Replacing the hinge means unloading the door section, which is spring territory.
- Panel replacement. Replacing a panel means lifting sections on a torsion system. A great many “small” panel jobs turn into a door on the ground.
- Winding an extension spring. Same principle, different geometry, same risk.
If you’re unsure which category a task falls into, ask. A five-minute phone call saves a hospital visit. And our technicians have up to 10 years of experience across every one of the majors, so the answer is usually quick.
Seasonal Maintenance Calendar for Rhode Island
Providence’s climate wants a four-touch maintenance routine. Here’s the one we recommend, mapped to the actual seasonal stresses.
- Early fall (before the first hard freeze): full lubrication of hinges and steel rollers, tighten the three key bolt sets, replace the bottom seal if worn, and run the safety reverse test. This is the most important touch point of the year.
- Late fall (after leaves, before snow): visual inspection of the whole door, clean the tracks, clear the area around the door of winter debris, and check that the safety sensors are aligned and clean.
- Late winter / early spring: full visual inspection for rust, panel separation, and cable fraying after a winter of freeze-thaw, plus a re-test of the balance check. Salt spray tracked up the driveway on the bottom panel needs a wipe.
- Early summer: full lubrication, check the opener diagnostics, test the auto-reverse again, and address any noises that have crept in.
Beyond the seasonal touches, a quick visual check of cables and rollers once a month is worth the five minutes. If anything looks off, bring in the garage door repair team. If your current door is at the end of its service life, we also handle garage door installation across the full range of brands from Clopay and Amarr.
Common Mistakes to Avoid
- Spraying WD-40 on the springs and tracks. It’s the most common lubrication mistake we see, and it’s the reason a lot of noise complaints starting in October are worse than they need to be. Use the right spring or lithium grease on the springs and never grease the tracks.
- Oiling nylon rollers. Oil attracts dust and grit into the bearing surfaces, which shortens roller life. Nylon rollers are self-lubricating; leave them alone.
- Forcing a door that reverses. If the door reverses on the way down, the system is telling you something is obstructing it or the force setting is wrong. Holding the wall button to override the safety is a real safety risk to children, pets, and cars.
- Ignoring a spring with a visible gap. A torsion spring with a gap has already broken or is failing. Do not operate the door manually or with the opener. That’s a call-a-technician-today situation.
- Assuming the opener is broken when the door is dragging. Most “opener won’t lift the door” symptoms trace back to worn springs or rollers. A new opener on a tired door just strains the new opener.
- Winding extension springs with a screwdriver or pry bar. The wrong tool on an extension spring is a known cause of serious hand injuries. Correct tools or a technician.
- Skipping the fall bolt check in older houses. Sturdy old jambs on Providence homes sometimes conceal a loose track bolt or a hinge that’s pulling free. What looks like normal wood movement is often a bracket that needs attention.
See the difference
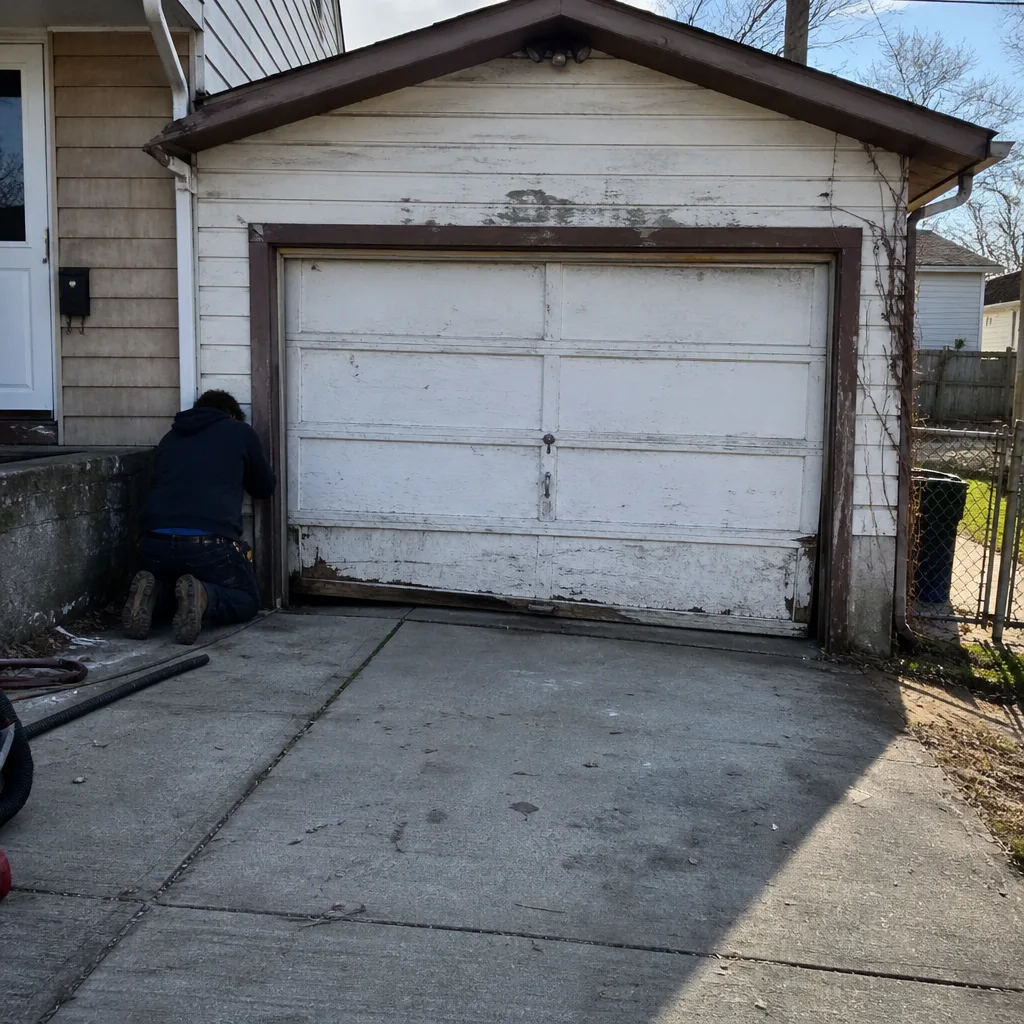 Before
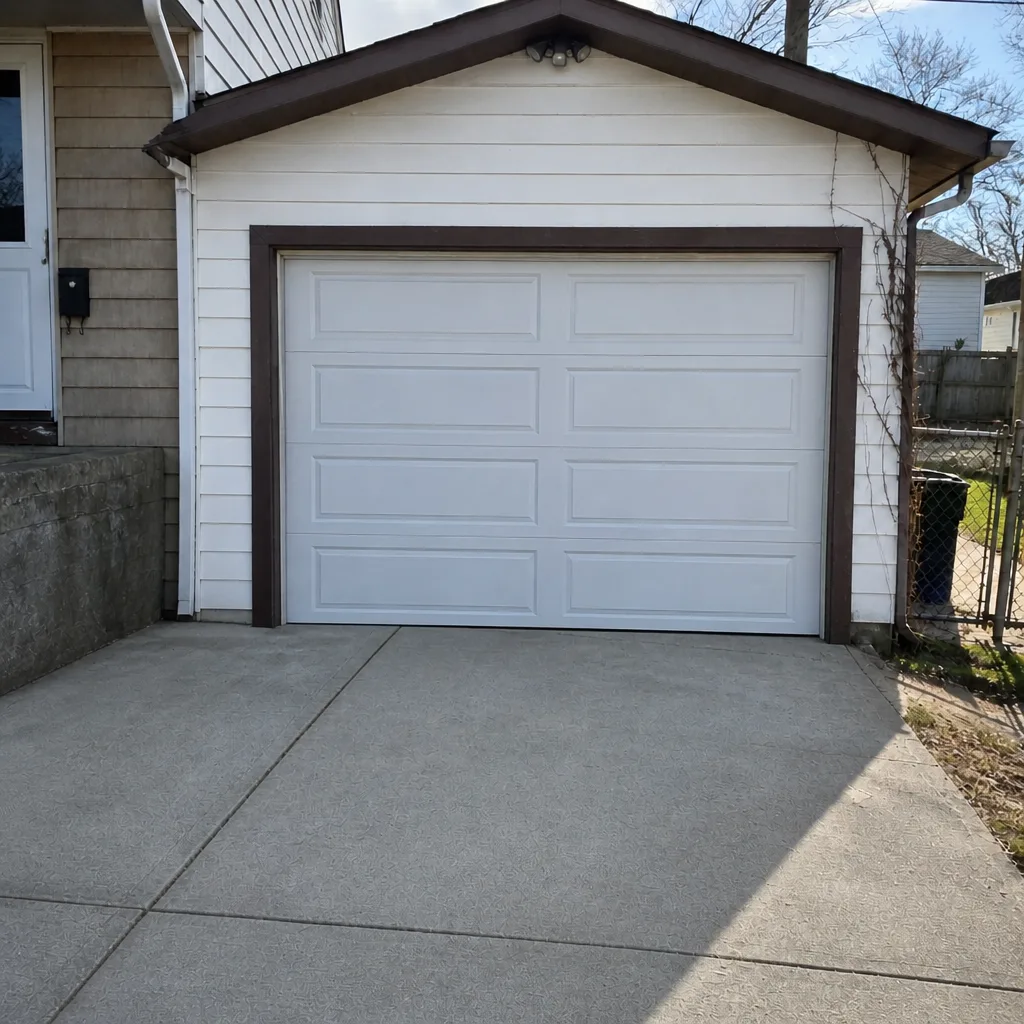 After
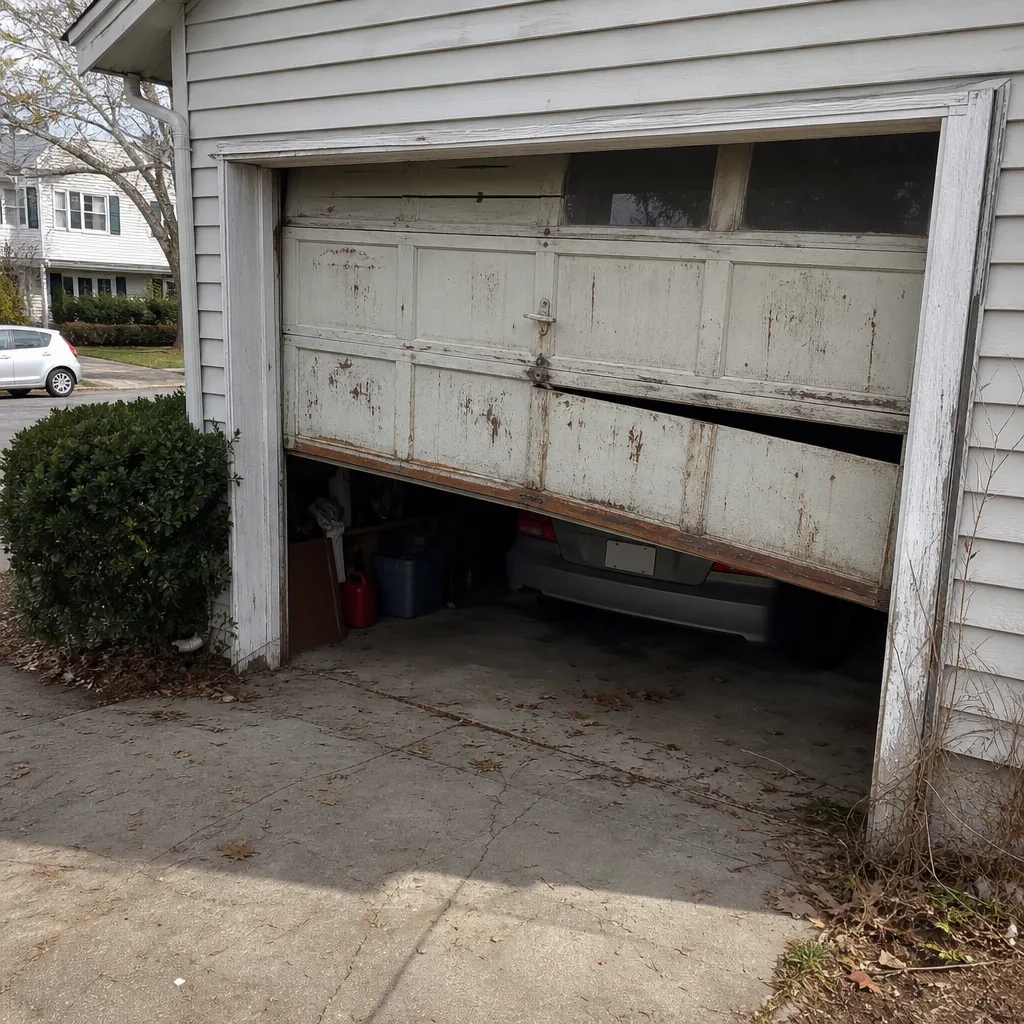 Before
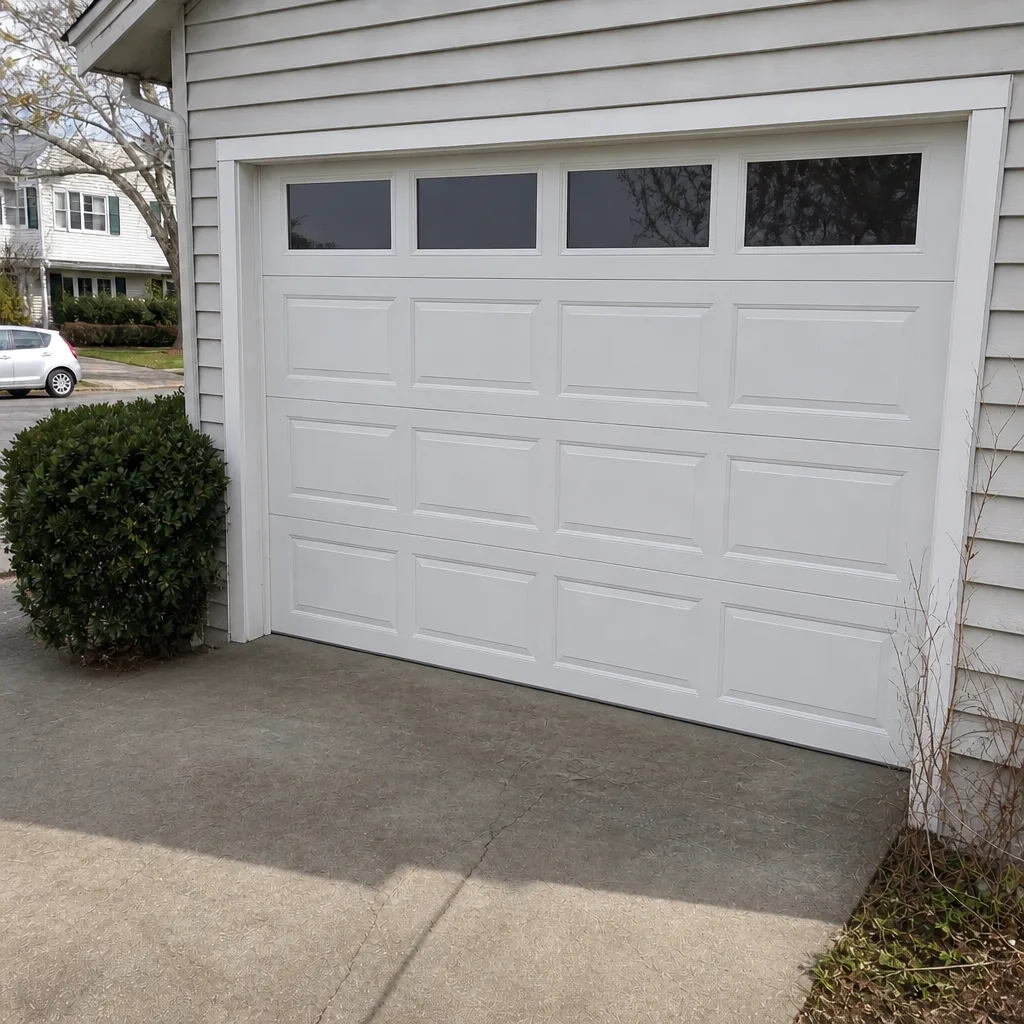 After
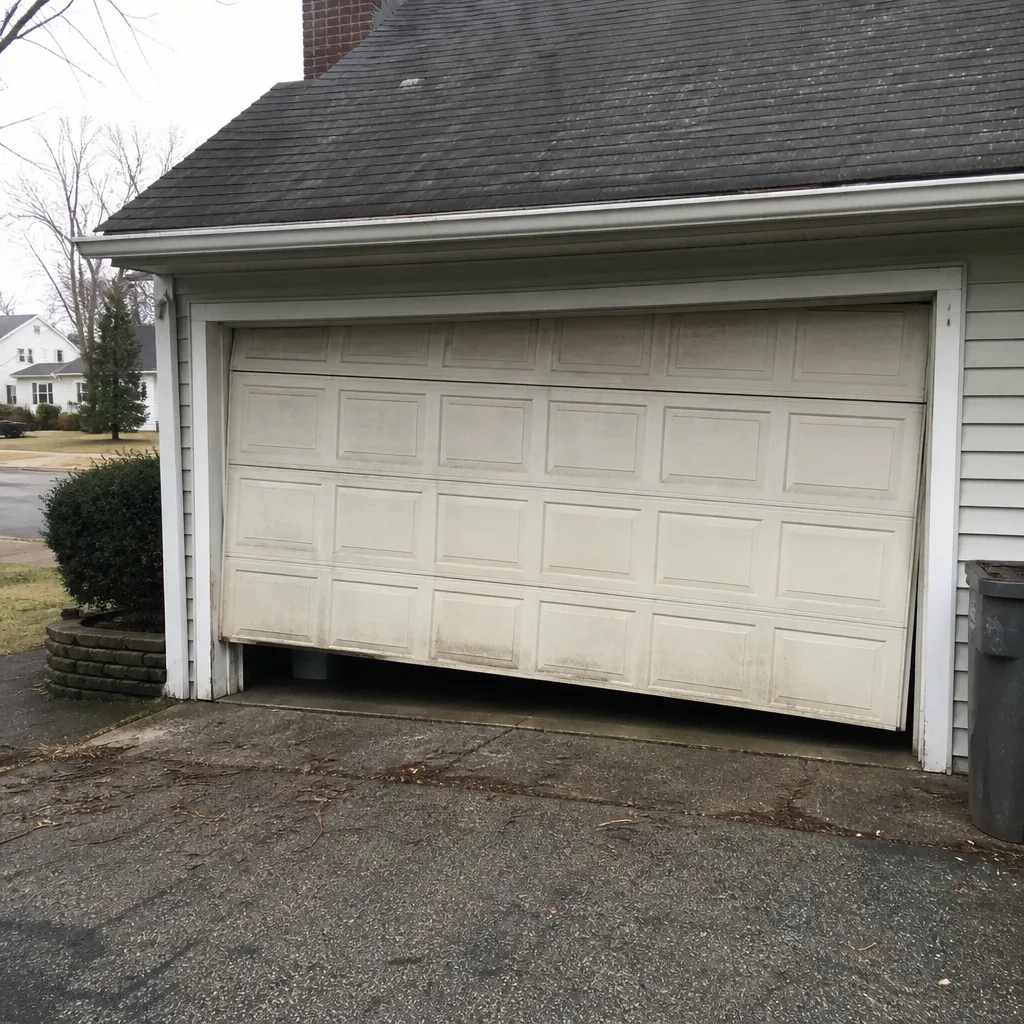 Before
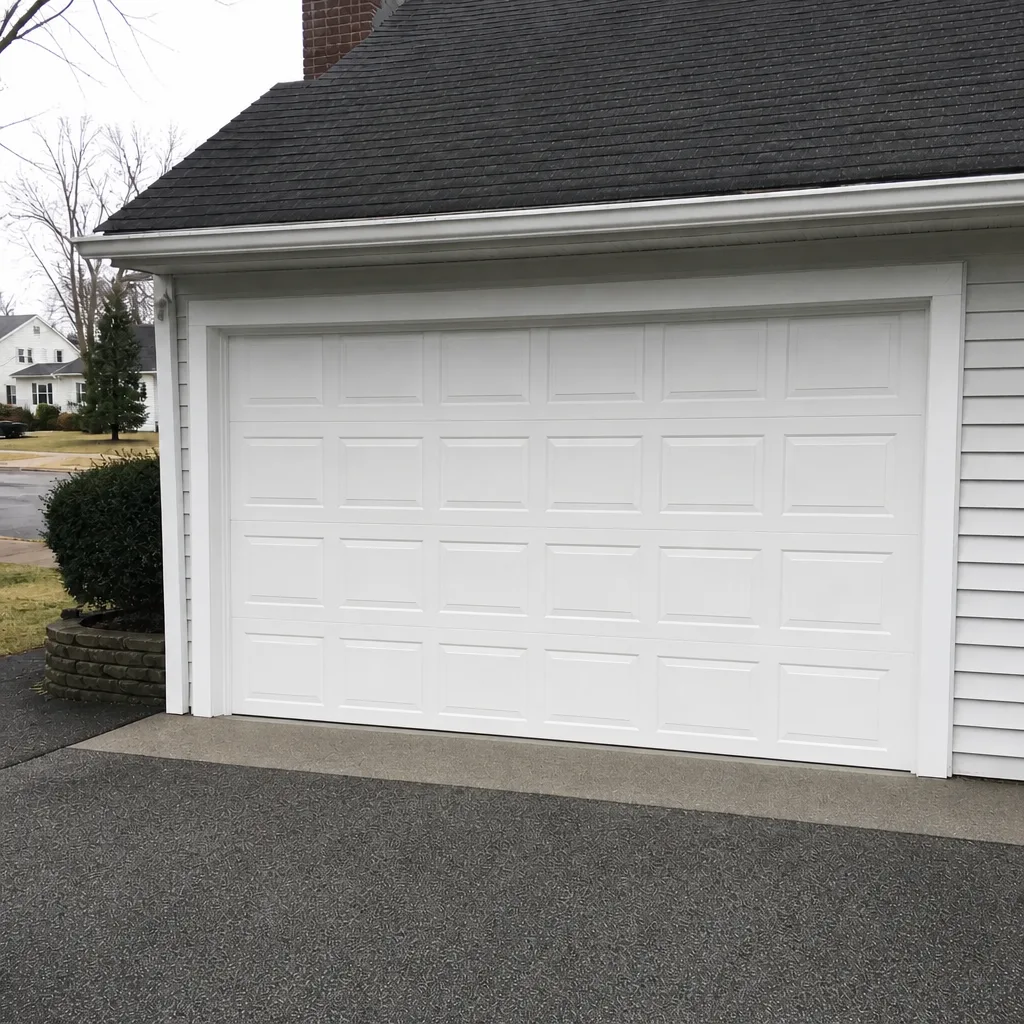 After
When to Call a Professional
Call a professional immediately for: a snapped torsion or extension spring, a frayed or slack cable, a door that hangs crooked or off the track, a door that drops hard when tested, a visible bend in the track, or a loud bang from the garage. These are safety issues, not convenience issues. Also call for: a door that reverses on the way down and won’t respond to sensor cleaning, an opener that won’t respond to the wall switch, and any panel or hinge damage that looks structural. For installation, panel work, or spring repair, we’ll measure, quote a written price, and schedule the work. For emergencies, we make same-day response concrete, not a callback promise. Providence Garage Door Repair Pros offers free estimates in Providence. Call (833) 981-3384.
Frequently Asked Questions
Twice a year for lubrication and monthly for a visual inspection of cables, rollers, and springs. The two key lubrication touches are early fall, before the first hard freeze, and early summer. That’s the schedule that actually matches Rhode Island’s freeze-thaw cycles.
No. WD-40 is a solvent, not a long-term lubricant. It strips away the factory grease on the springs and leaves a tacky film on the tracks that attracts grit, and grit on steel accelerates wear. Use a proper thick spring or lithium grease on the springs and never oil the tracks at all.
Three signs require only looking, not touching. A visible gap in a torsion spring coil, a stretched extension spring, or a door that drops hard when stopped at halfway all indicate spring failure. Do not operate the door or put your hands near the spring. Call a technician, since spring repair is a safety-critical job.
Yes, but less than the door. Check the safety sensors monthly, test the auto-reverse once a year, and lubricate a chain-drive opener’s rail and chain with the correct chain or rail lubricant. Belt-drive openers usually need no rail lubrication. On connected LiftMaster, Chamberlain, and Genie units, the app or diagnostic LED will flag problems the door itself can’t.
First check the photo-eye sensors, since misalignment or dirt causes most “won’t close” problems. If cleaning and aligning the sensors doesn’t fix it, the issue is usually track, roller, or force-setting related and needs a technician. Never hold the wall button to force a door that’s reversing, because you’re overriding a safety system.
Lubrication of hinges and steel rollers, cleaning tracks and lenses, tightening visible bolts, replacing the bottom seal, and testing the auto-reverse are all legitimate DIY. Anything involving springs, cables, track realignment, hinge replacement on a torsion system, or panel replacement should be done by a trained technician with the correct tools.
Whether your door is a Clopay steel panel, an Amarr carriage style, or an older door running a Genie opener, the maintenance logic is the same. Look monthly, lubricate correctly, tighten before the freeze, and stop the moment something looks dangerous. For repair, a spring that needs attention, or a free estimate on a door that’s reached the end of its life, Providence Garage Door Repair Pros is one call away at (833) 981-3384.
The Bottom Line
The garage door maintenance checklist that actually works in Providence is short: monthly visual inspection, twice-yearly lubrication with the right products, a fall bolt-tightening pass before the hard freeze, and a hard rule that springs and cables are technician territory. The most common mistake isn’t skipping maintenance, it’s doing the wrong maintenance with the wrong product. Use lithium or purpose-made spring grease on the moving hardware, keep the tracks dry, leave nylon rollers alone, and run the balance check from a safe distance with your hands nowhere near the springs. If you catch a frayed cable or a fatigued spring in its warning phase, you avoid the expensive emergency phase entirely. When you do need a hand, the written estimate comes first, and the work starts after you’ve agreed to it.
Written by the team at Providence Garage Door Repair Pros.