Last updated November 21, 2026
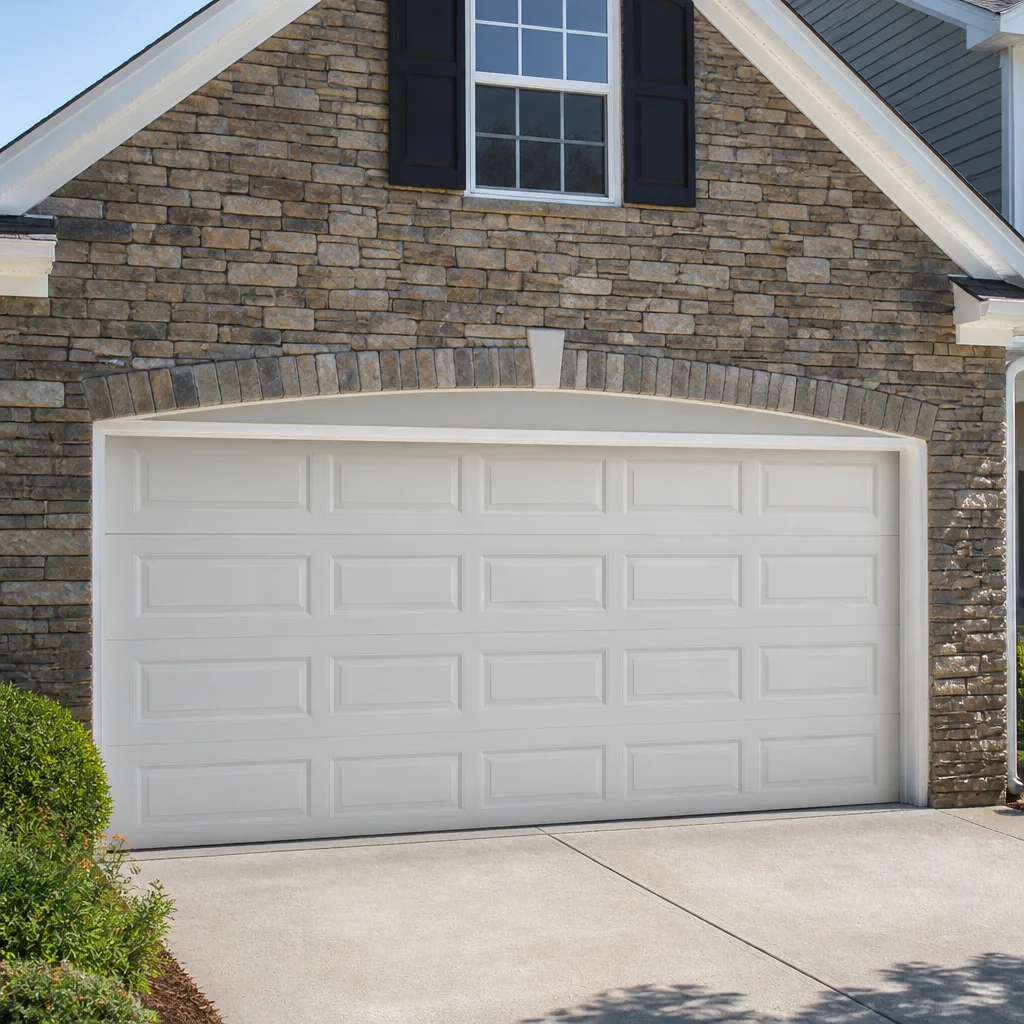 Raised-panel steel
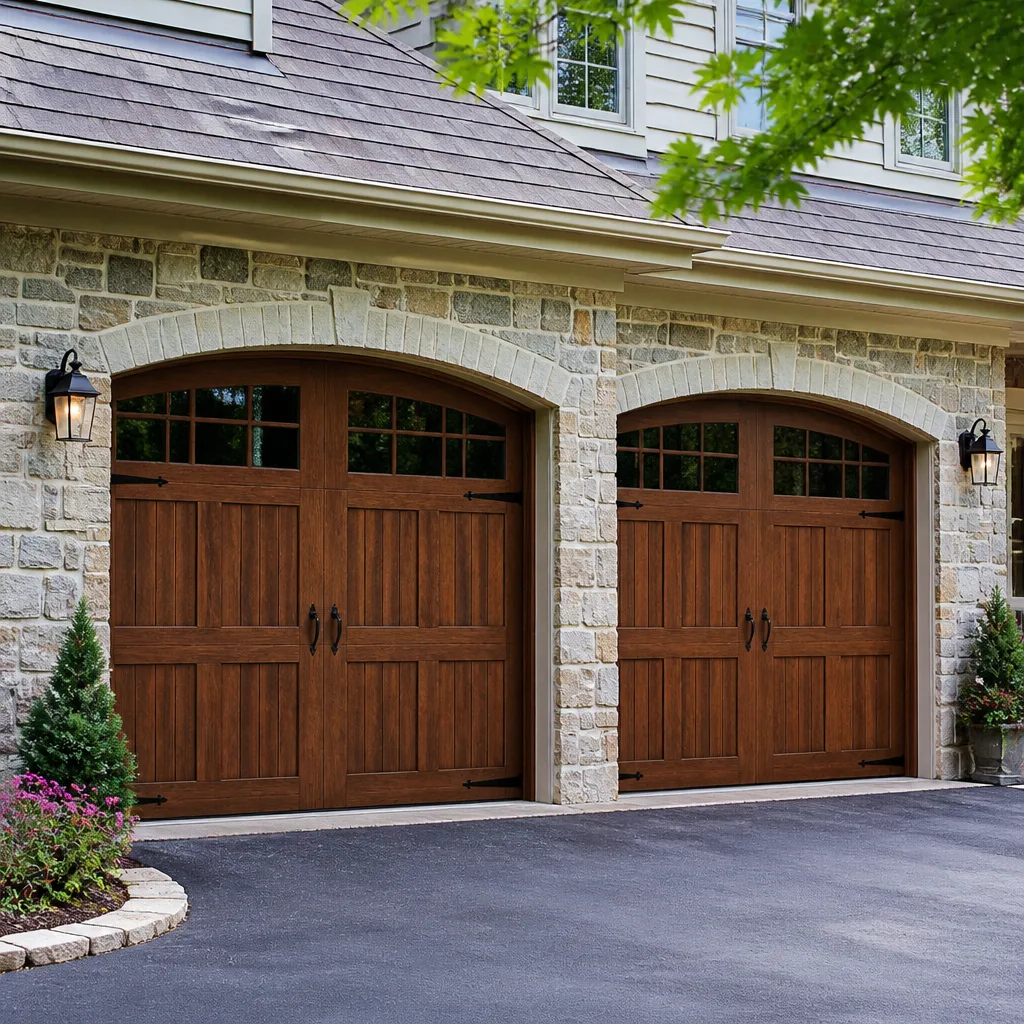 Carriage house
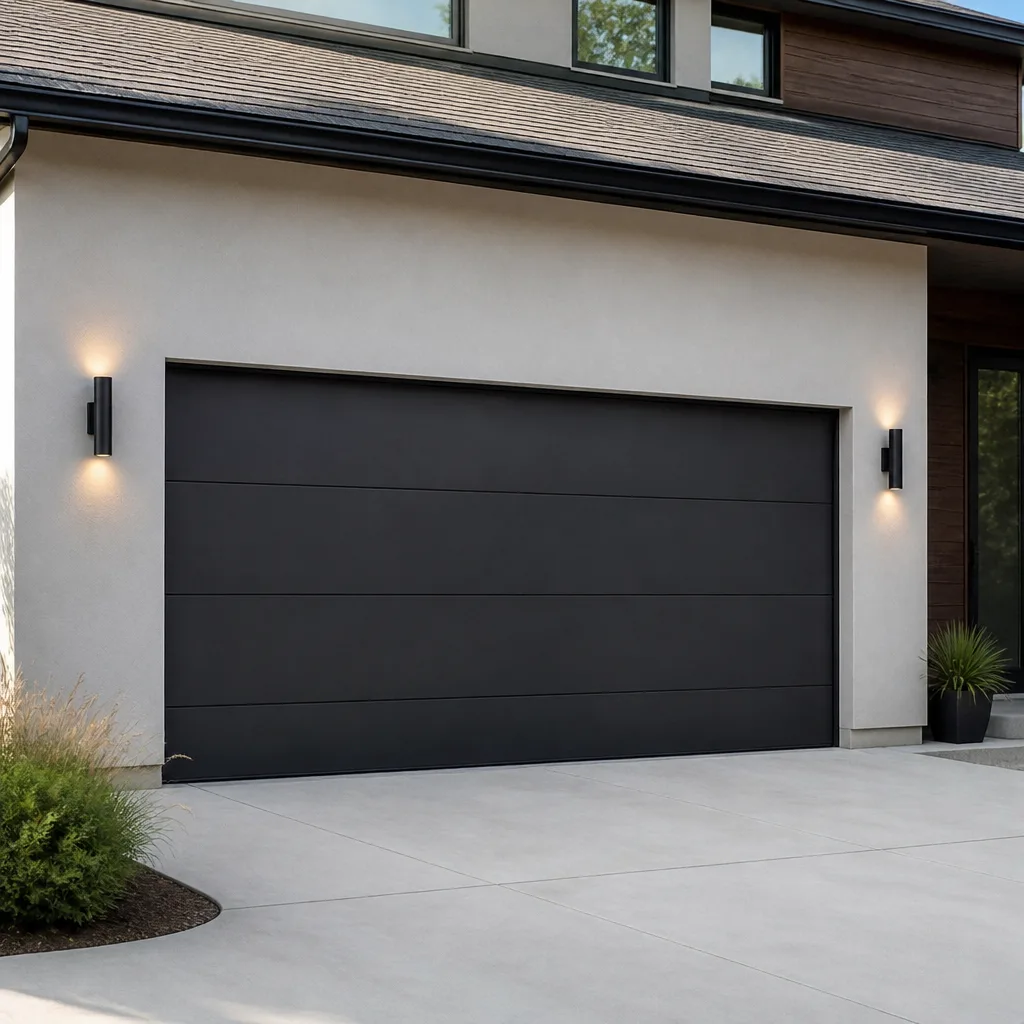 Modern flush
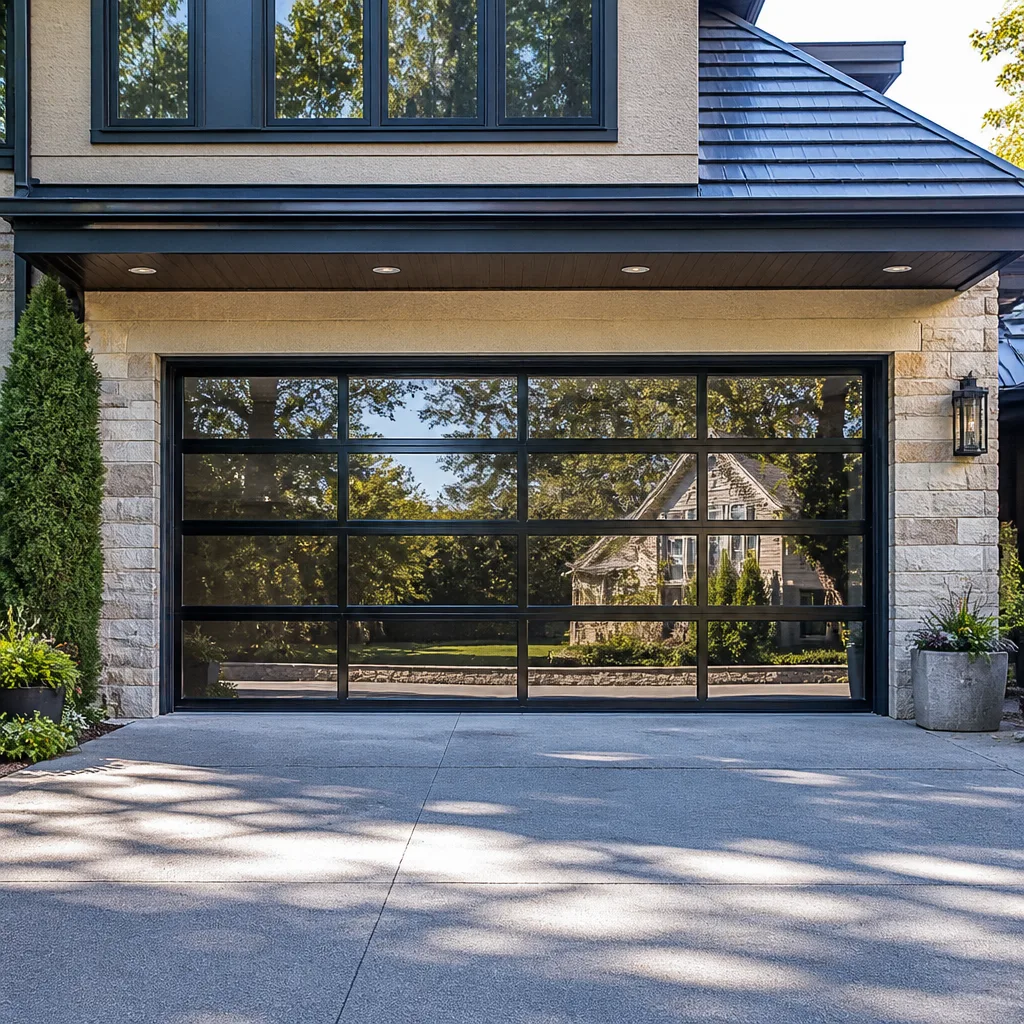 Full-view glass
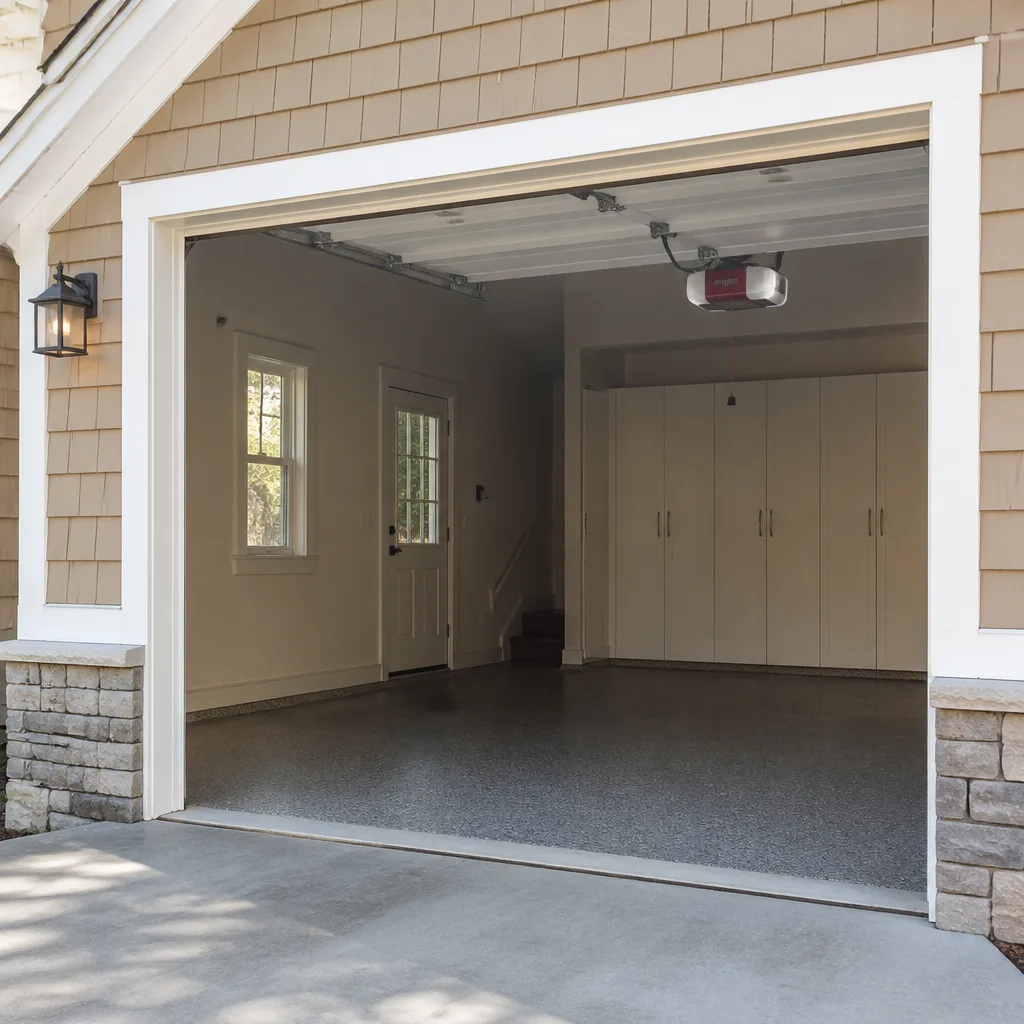 LiftMaster openers
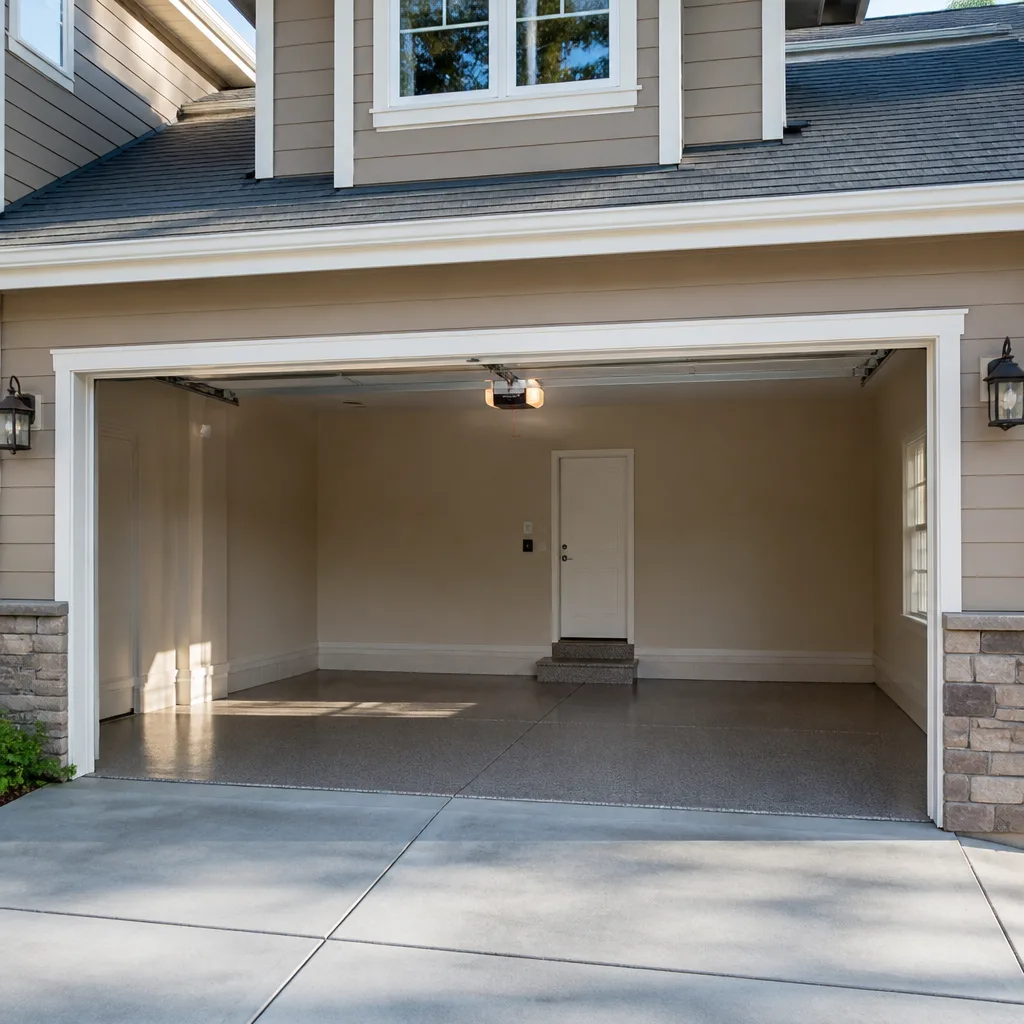 Chamberlain openers
Full 25-point door and opener safety check with every visit - springs, cables, rollers, tracks, and your LiftMaster or Chamberlain opener included
You get a price before we start. It does not change when the pro arrives.
Get your free estimateSeasonal Garage Door Care for Providence: Year-Round Homeowner’s Guide
Spring in Providence isn’t just warmer. It’s the season that tells you what February actually did to your door. The thaw is when frozen lubricant goes soft and every component that was quietly degrading through the cold suddenly shows itself: a roller that won’t spin, a cable that’s started to fray, a bottom seal that’s cracked clean through. Most homeowners wait until something breaks and then call it bad luck. It isn’t. It’s a schedule. This guide walks through each of Providence’s four distinct seasons and what it does to your door, with a month-by-month calendar built around the actual climate here so you know what to check and when.
Styles & brands we work with
- Raised-panel steel
- Carriage house
- Modern flush
- Full-view glass
- LiftMaster openers
- Chamberlain openers
Quick Answer
Seasonal garage door care in Providence means adjusting for four distinct failure patterns: pre-winter prep on weatherstripping and rollers in October and November, freeze-protection and no-forcing rules in January and February, a post-winter inspection of springs, cables and tracks in March and April, and humidity checks on wood panels and opener electronics in July and August. A simple lubrication and visual check each season, plus a professional tune-up once a year, catches most failures before they become emergencies. The dangerous parts – springs and the cables under tension – are never a DIY job, even for a careful homeowner.
Table of Contents
- Why Providence Seasons Are Hard on Garage Doors
- Fall Prep: Getting Ahead of Freeze-Thaw Cycles
- Winter: What to Do When the Door Won’t Move at 15°F
- Spring: Reading the Wear Indicators From Winter
- Summer: Humidity, Wood Panels, and Opener Circuit Boards
- Month-by-Month Task Calendar for Providence
- Common Mistakes to Avoid
- When to Call a Professional
- Frequently Asked Questions
- The Bottom Line
Why Providence Seasons Are Hard on Garage Doors
Garage doors are outdoor equipment bolted to a house. Every spring, cable, roller and seal on that door lives outside, and in Providence it lives through four genuinely different environments each year. The freeze-thaw cycle is the big one. Water gets into a crack in a rubber seal, freezes overnight, expands, and widens the crack. Then it thaws, drains out, and repeats. Do that thirty or forty times between December and March and a seal that looked fine in October has split along its whole length by April.
The other quiet enemy is temperature cycling on the opener. A garage that isn’t air-conditioned swings from well below freezing in January to humid and hot in July. The circuit board inside your opener expands and contracts with those swings, and older solder joints start to crack. This is why a LiftMaster or Chamberlain unit that’s been reliable for years suddenly behaves strangely in a heat wave.
The four failure patterns worth knowing:
- Fall: Weatherstripping dries and cracks before the hard freeze; rollers and hinges lose lubrication and start to seize.
- Winter: Ice binds the bottom seal to the floor; metal contracts and clearances shift; forcing a frozen door strips gears and bends tracks.
- Spring: Post-winter wear on springs, cables and tracks reveals itself; the thaw exposes corrosion and fatigue.
- Summer: Humidity swells wood panel doors; unvented garages cook opener circuit boards.
None of this is exotic. A door in Providence faces a harder year than a door in a mild climate, and that’s exactly why a seasonal rhythm beats a once-a-year guess. If something already looks wrong while you’re reading, our garage door repair service handles everything from a single roller to a full track realignment.
Fall Prep: Getting Ahead of Freeze-Thaw Cycles
Fall is the highest-value maintenance window of the year in Providence. Everything you adjust before the first hard freeze is something you won’t be fixing in January, standing in the cold. The goal is simple: get rubber, metal and lubrication ready for temperatures that will drop below freezing and stay there for stretches.
- Inspect the bottom seal and perimeter weatherstripping. Run your hand along the bottom seal and look for cracks, flattening or gaps against the floor. Cracked rubber lets in water that freezes and pries the seal apart. Check the side and top seals the same way. If the rubber is stiff and crazed, it’s done.
- Lubricate rollers, hinges and the torsion shaft bearings – not the tracks. A garage-door-specific lubricant on the moving metal parts keeps them from seizing. Tracks get wiped clean, not greased; grease in the tracks collects grit and gums up the rollers.
- Check the balance of the door. Disconnect the opener and lift the door halfway by hand. It should stay put with light effort. A door that drops or needs two hands to lift is telling you the springs are losing tension and will struggle more in cold weather.
- Test the safety reverse. Put a rolled-up towel or a piece of wood in the door’s path and close it. The door should reverse on contact. If your opener has a photo-eye pair at the bottom, wipe the lenses and confirm the door won’t close when they’re blocked.
- Clear the drainage around the door. Water that pools at the threshold in fall becomes ice at the bottom seal in winter. Make sure the apron and the ground outside the door slope away.
- Look at the panels and the paint. A cracked or peeling paint film on a wood or steel panel traps moisture underneath. Touch up before winter rather than after.
If your door uses a Raynor or Wayne Dalton system with a proprietary bottom seal profile, order the replacement seal before you need it. Getting the correct profile in October is easy. Getting it the week the door is jammed shut in February is not.
Winter: What to Do When the Door Won’t Move at 15°F
On a cold Providence morning, the most common call we get is a door that won’t open. Almost always, the door isn’t broken. The bottom seal is frozen to the floor, the metal has contracted, or the opener is straining against ice it can’t break free. What you do in the next five minutes decides whether you need a simple thaw or a repair.
Do not force it. Holding the wall button and letting the opener grind against a frozen seal is the single most expensive mistake of the winter. The opener’s plastic gears strip, the drive belt or chain skips, and the downward force can bend a track out of alignment. There is no override that saves you from this. If the door won’t move, stop pressing the button.
What to do instead:
- Break the ice at the bottom seal by hand. With the opener disconnected (pull the red release cord), lift gently at the bottom edge or work a plastic scraper under the seal to free it from the floor. Never use a metal tool or a hammer.
- Warm the seal with a hair dryer on low if it’s stuck fast. Keep the dryer moving and never point it at the opener or the springs.
- Clear ice and snow from the apron outside the door so meltwater can drain instead of refreezing.
- Reconnect the opener and test slowly once the door moves freely by hand.
If the door moves by hand but the opener won’t lift it, the problem is the opener, not the ice. Cold makes a weak opener weaker, and a unit that’s been marginal all fall will fail on the first 15°F morning. Our garage door opener repair service diagnoses the electronics and the mechanical drive together, which matters because a LiftMaster that won’t lift in the cold is rarely a single-part failure.
One more winter rule: the springs and cables are under enormous tension, and cold metal is brittle. If you see a broken spring or a cable hanging loose in winter, do not touch it. Those parts carry enough stored force to cause serious injury, and they require the right tools and a trained technician to release safely. That is true year-round, but the risk peaks when the metal is cold.
Spring: Reading the Wear Indicators From Winter
Spring in Providence exposes what winter hid. Once the thaw sets in and the lubrication softens, every marginal part announces itself. This is the best inspection window of the year, because you’re seeing honest wear rather than cold-weather symptoms. Read the door the way a technician would.
Springs
Look at the coil springs above the door (or the pair along the horizontal tracks on older single-piece doors). Check for a visible gap in a coil, a stretched or collapsed section, or rust bleeding through the coils. A door that suddenly feels much heavier than it did in fall has a tired spring. Springs have a finite cycle life and cold weather stresses them; catching one that’s on its way out in spring beats an emergency in July.
Cables
Cables run from the bottom corners of the door up to the drums. Look for fraying, kinks, rust, or a cable that’s come out of its groove on the drum. A frayed cable can snap, and a snapped cable sends the door down hard or twists it in the tracks. Do not lubricate a frayed cable and do not try to rewind one yourself; this is professional work.
Tracks and Rollers
Run your eye down each vertical and horizontal track. They should be straight, parallel, and free of dents. Check that each roller sits fully in its track and turns freely. A roller that wobbles means a worn stem or a bent track. Bent tracks are common in spring in Providence, because winter ice and the odd bump against the door bend metal that’s already stressed.
The Balance and Reverse Tests
Repeat the fall tests: with the opener disconnected, the door should hold its position halfway up, and the safety reverse should still work. If either fails, it needs attention before summer. If you’d rather a professional do the read-through, a scheduled tune-up at this point catches the list in one visit rather than in five separate calls. It’s also a natural time to think about garage door installation if the panels and hardware are simply at the end of their life, but replacement should be a considered decision, not a sales pitch on the first repair call.
Summer: Humidity, Wood Panels, and Opener Circuit Boards
The two summer failure modes in Providence have nothing to do with heat damage to metal and everything to do with water in the air and electronics that can’t shed it. An un-air-conditioned garage gets hot and humid, and that’s a hard environment for both wood doors and opener boards.
Wood and Composite Panels
Wood swells in humidity and shrinks when it dries. A wood panel door whose paint or sealer film has cracked lets moisture into the end grain, and over a few summers you get swelling, binding panels and paint flaking from the inside out. Check the bottom edges and the joints between panels, since that’s where water sits. If the finish is chalky or checked, it needs a fresh coat before the fall rains. Composite and steel doors don’t swell, but trapped moisture under a failed finish can still cause rust or delamination on steel skins.
The Opener Board
Your opener’s circuit board expands and contracts with the temperature swings that come with a hot garage and cooler nights. That’s when aging solder joints on an older Chamberlain, Genie or Craftsman unit crack and start interrupting power. Symptoms look like a door that opens partway and stops, a unit that beeps or flashes randomly, or one that forgets its travel limits. Modern Wi-Fi-connected openers can also drop their network in summer heat, which is usually the board or the power supply rather than your internet.
What helps:
- Keep the garage as ventilated as the door allows. A slightly open window or a vent helps the whole space, including the opener.
- Shade the opener head if it’s mounted where sun hits it through a window.
- Re-seal wood and painted steel before the humidity peaks rather than after the damage is done.
- Don’t ignore a unit that misbehaves only in summer. It’s usually the first sign of a failing board, and it will get worse.
Covering all brands from LiftMaster and Chamberlain to Genie, Craftsman, Clopay, Amarr, Wayne Dalton and Raynor means the technician who shows up already knows the specific opener or panel system in your garage rather than reading the manual on your driveway. Whatever brand you have, we know it.
Month-by-Month Task Calendar for Providence
Here’s the working calendar we’d hand a Providence homeowner. It’s built around the local climate pattern, not a generic twice-a-year rule. Adjust the timing slightly in a year with an early or late freeze, but keep the order.
- September: Wipe the tracks clean, lubricate rollers, hinges and bearings, and check the balance of the door by hand.
- October: Inspect the bottom seal and perimeter weatherstripping; order replacement seals with the correct profile if they’re brittle. Touch up paint on wood and steel panels.
- November: Test the safety reverse and the photo-eyes. Clear the apron and ground outside the door so water drains away before the hard freeze. Lift the door by hand to check that springs aren’t already weak.
- December: First freeze-protection check. Confirm the bottom seal isn’t sticking; break any ice by hand, never with the opener.
- January: Cold-weather watch. If the door won’t lift, thaw the seal; don’t force it. Note any opener strain, and book a diagnostic before it fails outright.
- February: Same rules as January. This is the month that does the most hidden wear. Anything that seems marginal now will show up in March.
- March: The big inspection. Read springs, cables, tracks and rollers for post-winter wear. Repeat the balance and reverse tests.
- April: Repair anything flagged in March before summer heat. Re-lubricate after the inspection so moving parts are fresh for the warm season.
- May: Check the finish on wood and painted steel panels before the humidity peaks, and clean the opener’s exterior and vents.
- June: Summer opener watch. Note any partial openings, random beeps or forgotten travel limits and get them diagnosed.
- July: Humidity check on wood doors. Inspect panel joints and bottom edges for swelling or finish failure.
- August: Re-check the safety reverse after a season of use, and prepare for the September lubrication and track clean.
That’s twelve touchpoints, but most are five-minute visual checks. The professional tune-up fits naturally at the March inspection, and it’s worth planning for rather than waiting for a breakdown.
Common Mistakes to Avoid
We’ve seen the same handful of mistakes take a simple repair and turn it into a track replacement or an opener replacement. Here are the ones that matter most in a Providence climate.
- Forcing a frozen door with the opener. Holding the wall button while the door is stuck to the floor strips the opener’s gears and can bend the track. Stop pressing the button and free the seal by hand first. This one mistake accounts for a good share of winter opener failures.
- Lubricating the tracks. Grease in the tracks collects grit and turns the rollers into a grinding mess. Lubricate the moving metal parts, keep the tracks clean and dry.
- Trying to fix a spring or cable yourself. These parts are under severe tension and can cause serious injury. Even a careful homeowner should never adjust, cut or remove a spring or cable. Call a trained technician.
- Ignoring a bottom seal until it’s gone. A cracked seal lets water in through freeze-thaw, and the damage moves from the seal into the door’s bottom section. Replace the seal when it’s brittle, not after it fails.
- Replacing the whole door when a repair will do. A door with a bad spring or a bent track doesn’t need replacement. Repair first, and treat replacement as a decision you make after a proper diagnosis.
- Skipping the balance and reverse tests. These two checks take two minutes and they catch spring fatigue and a failed safety reverse before either becomes a bigger repair or a safety issue.
- Assuming a summer opener glitch is your Wi-Fi. A LiftMaster or Chamberlain unit that misbehaves only in heat is usually an aging board or power supply, not a network problem. Diagnose the unit before you replace the router.
None of these require special tools to avoid. All of them are cheaper to prevent than to fix.
When to Call a Professional
Call a professional for anything involving a spring, a cable, or an opener board you can’t troubleshoot with the manual in your hand. That includes a door that feels heavy to lift, a visible gap in a spring coil, a frayed or kinked cable, a door that’s come off one track, a door that reverses on its own, and an opener that strains, beeps randomly, or won’t complete its travel. In winter, if the door is frozen solid and thawing the seal by hand doesn’t free it, stop and call rather than forcing it.
Our technicians have up to 10 years of experience, and we work across the major brands: LiftMaster, Chamberlain, Genie, Clopay, Amarr, Wayne Dalton, Craftsman and Raynor. Providence Garage Door Repair Pros offers free estimates in Providence, so you’ll know the scope and the price before any work starts. Call (833) 981-3384. If a door is stuck open or a broken spring has your car trapped inside, our emergency garage door service is a genuine response, not a callback promise, and same-day service is available for exactly that kind of failure.
Frequently Asked Questions
Once a year for a professional tune-up, plus a five-minute visual check each season. In Providence, schedule the professional visit for March, when the thaw reveals winter wear and before summer heat stresses the opener. Homeowners who go longer usually find the first sign of trouble is an emergency.
Don’t keep pressing the opener button. The bottom seal is likely frozen to the floor or the metal has contracted, and forcing it strips the opener’s gears or bends a track. Pull the release cord, free the seal by hand or with a hair dryer on low, then test the door slowly. If it still won’t move, call (833) 981-3384 for a same-day diagnosis.
Before. Replace a brittle or cracked seal in October or early November, so it’s fresh going into the freeze-thaw season. A seal replaced in fall prevents the water intrusion that would otherwise split the new one over winter.
Heat and humidity in an un-air-conditioned garage stress the opener’s circuit board. Aging solder joints expand and crack, which shows up as partial openings, random beeps or forgotten travel limits. It’s usually a board or power supply problem, not your Wi-Fi, and it gets worse each summer it’s ignored.
No maintenance can extend a spring’s cycle life indefinitely; springs have a finite number of cycles. But catching a tired spring in the March inspection lets you plan the repair rather than discover it in an emergency. If you notice a gap in a coil or a suddenly heavy door, stop using it and call a professional, since springs are under severe tension and are dangerous to handle.
We service eight of the most widely installed brands: LiftMaster, Chamberlain, Genie, Clopay, Amarr, Wayne Dalton, Craftsman and Raynor. That covers both legacy mechanical systems and current Wi-Fi-connected openers. For an exact answer on your system, call (833) 981-3384 for a free estimate.
The Bottom Line
Providence gives a garage door four distinct seasons and four distinct failure patterns, and the smart maintenance plan matches the calendar rather than the generic advice. Prepare the seals, rollers and lubrication in fall. Protect the door from being forced in winter. Read the wear indicators in spring, when the thaw shows everything winter did. Watch the humidity and the opener electronics in summer. Do that, plus one professional tune-up a year, and most failures get caught while they’re still cheap to fix. If a spring, a cable or an opener has already raised a flag, don’t wait for the next season to find out. Our Providence Garage Door Repair Pros team connects you with experienced local professionals, and we’ll give you a straight diagnosis and a fair price.
Call (833) 981-3384 for a free estimate. Whether it’s a seasonal tune-up, a worn seal or a spring that finally gave out, we’ll tell you what it actually needs and quote it before we touch a thing.
Written by the team at Providence Garage Door Repair Pros.
See the difference
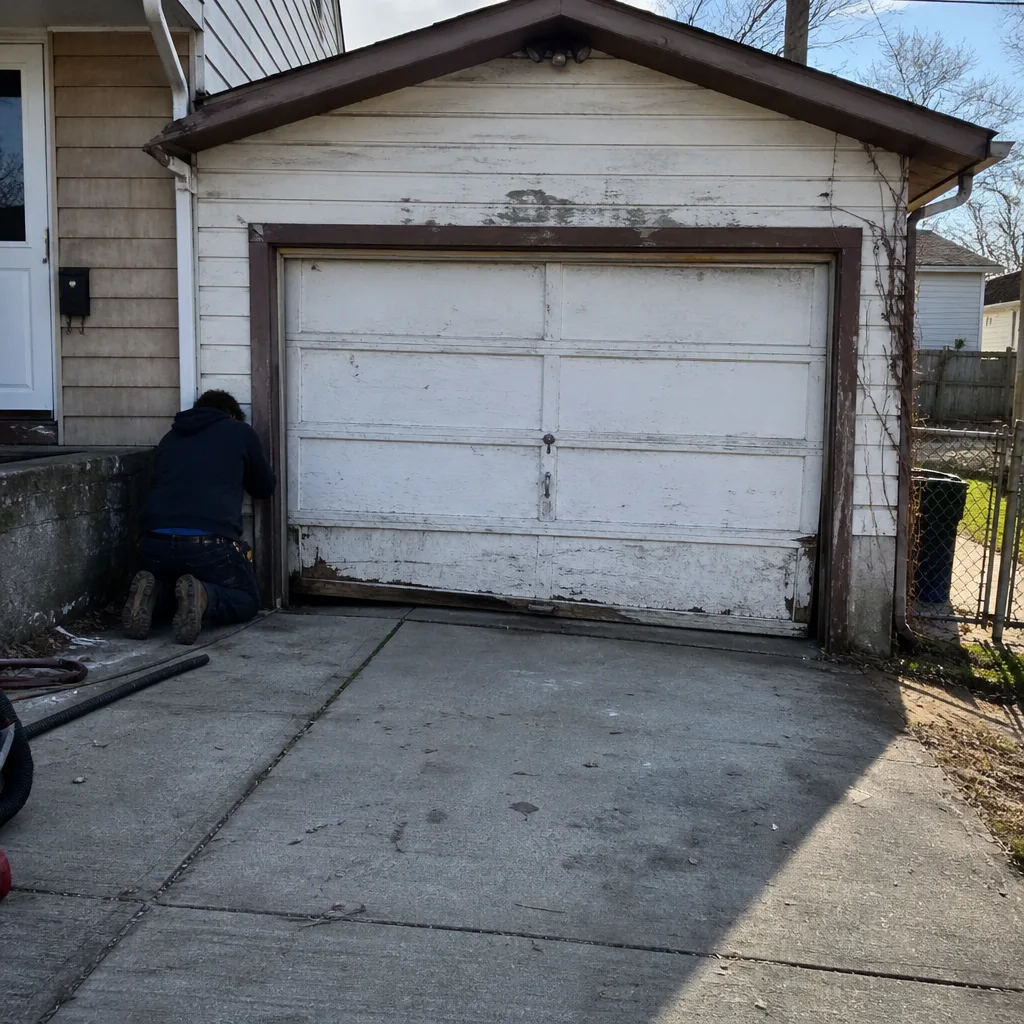 Before
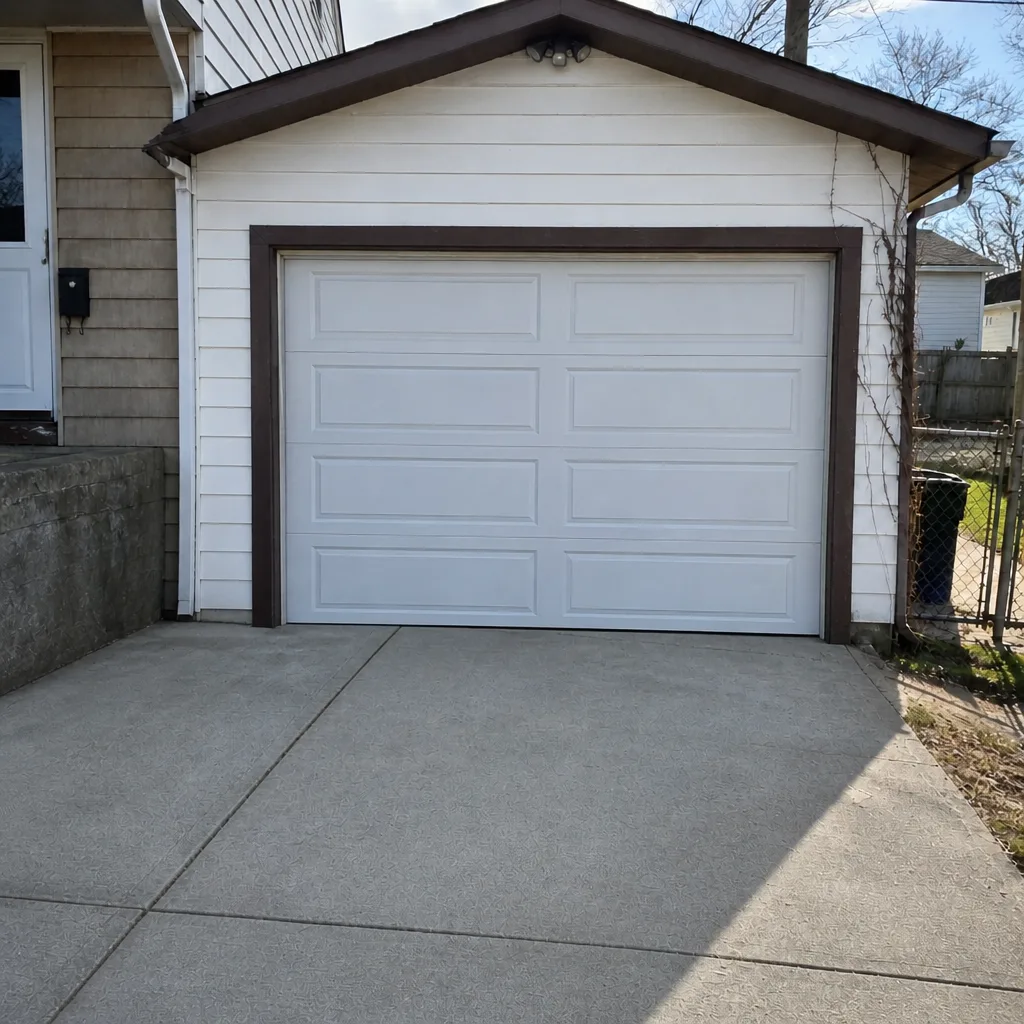 After
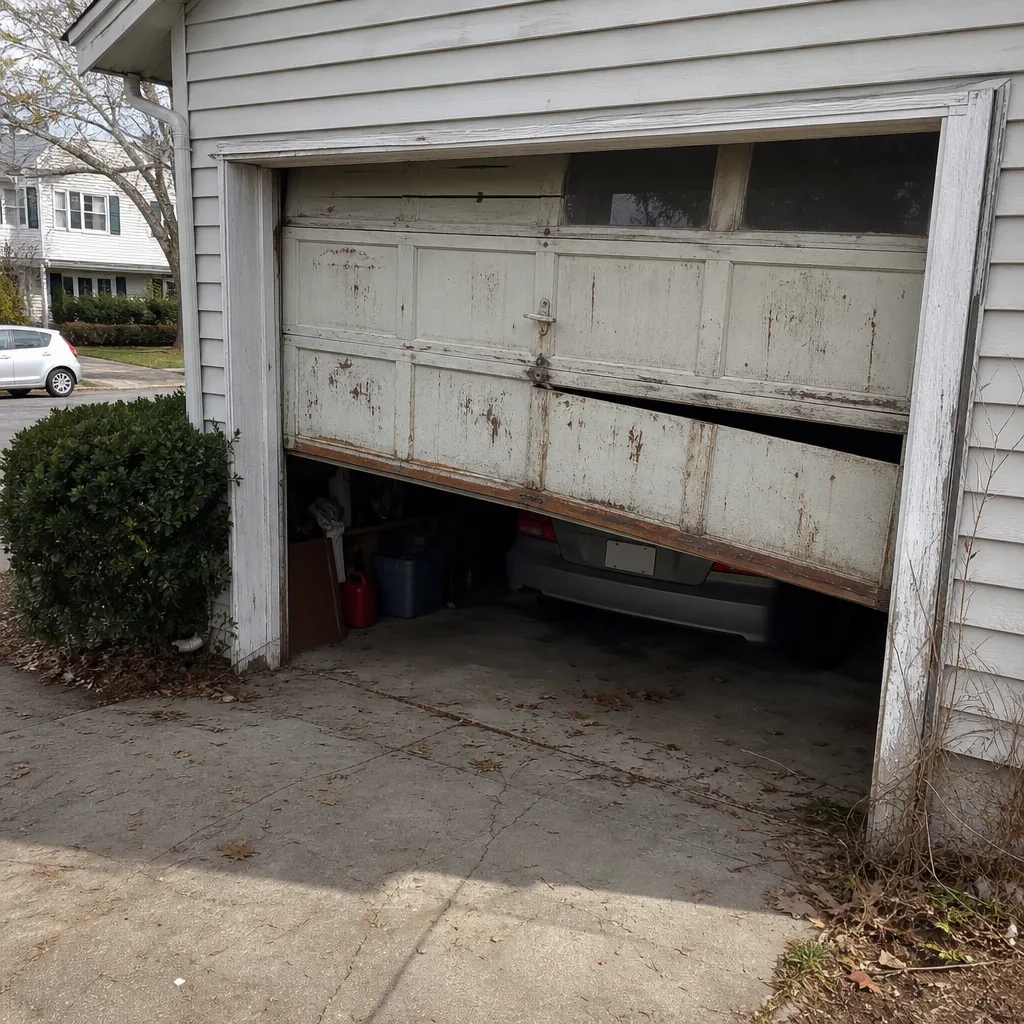 Before
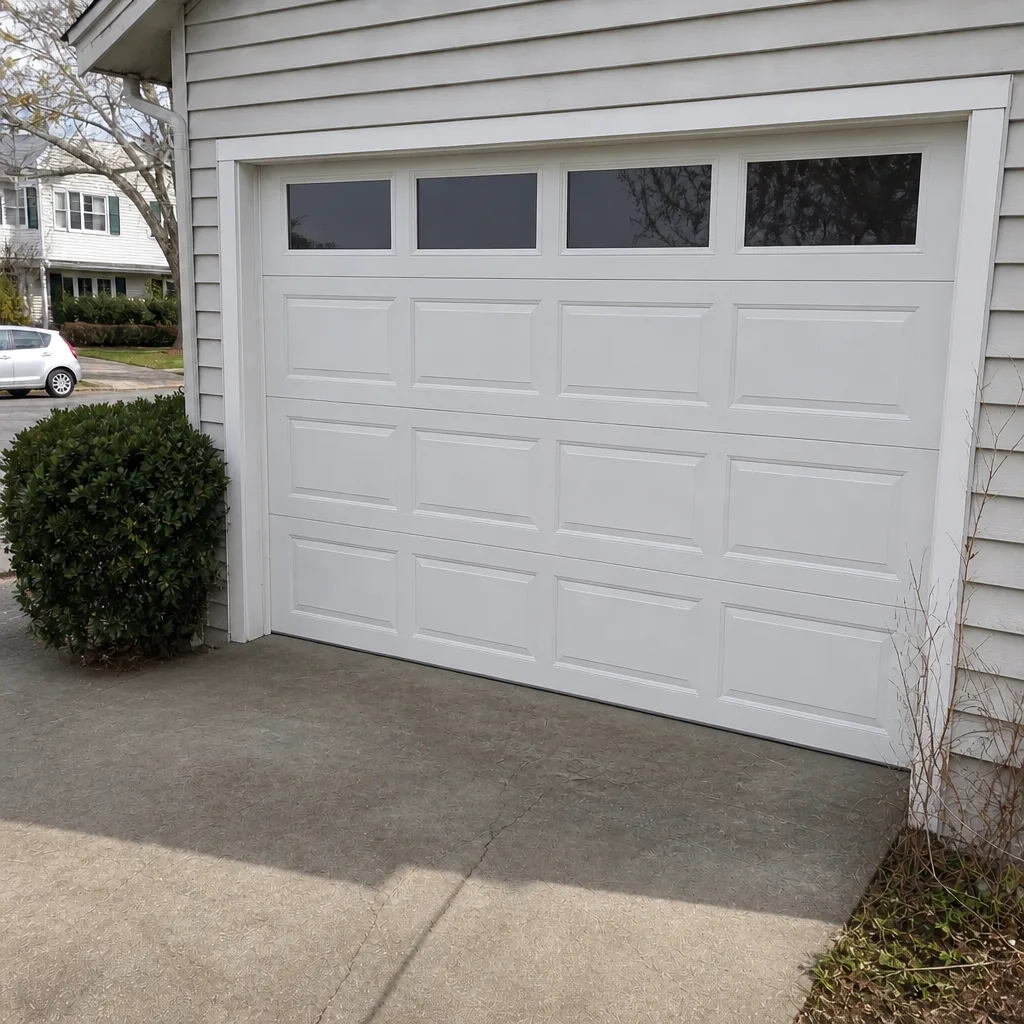 After
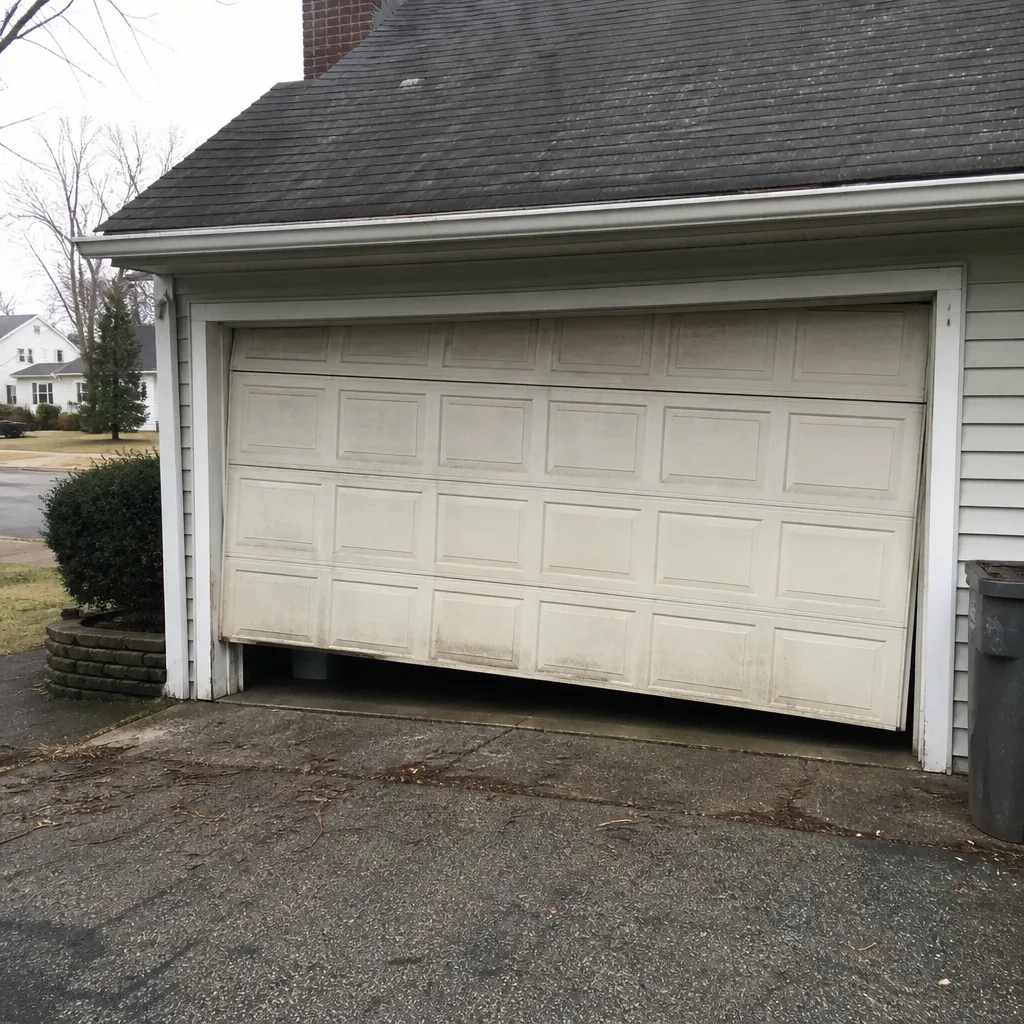 Before
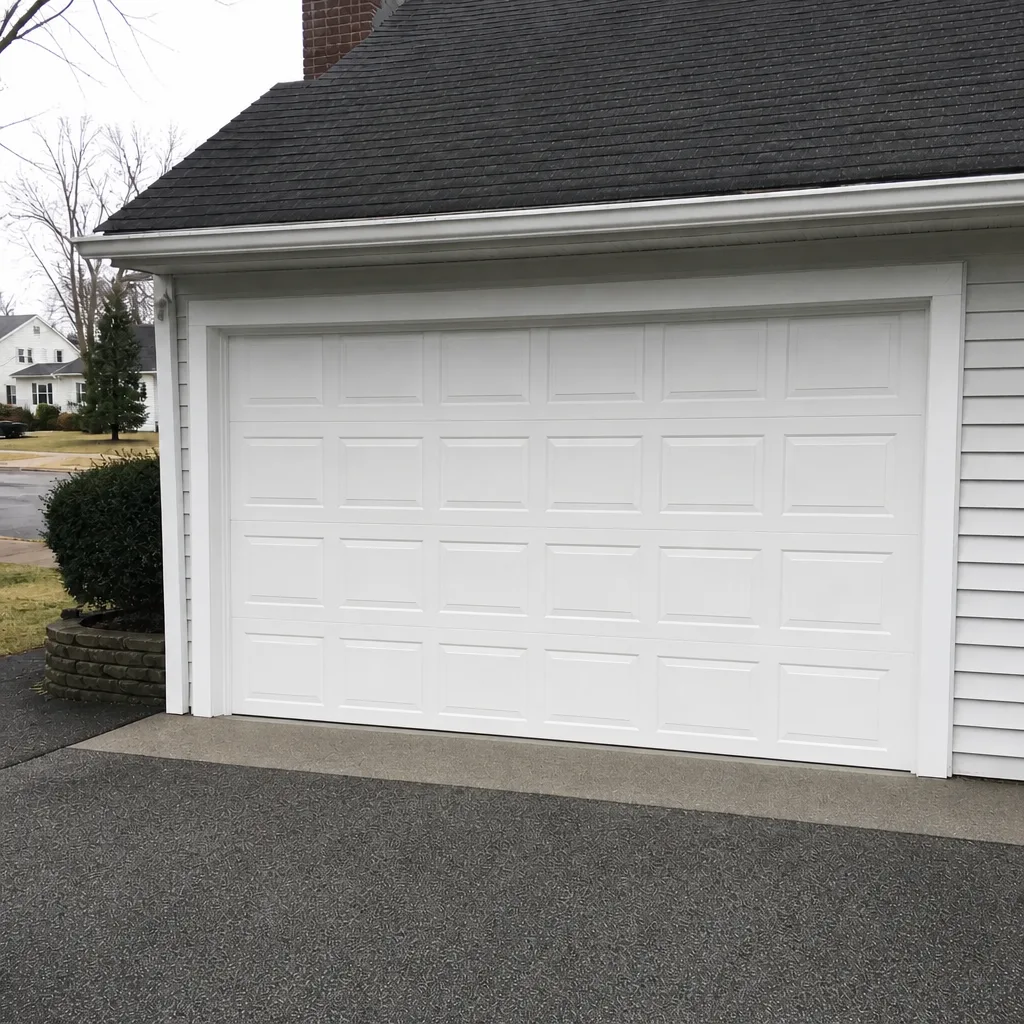 After