Last updated November 21, 2026
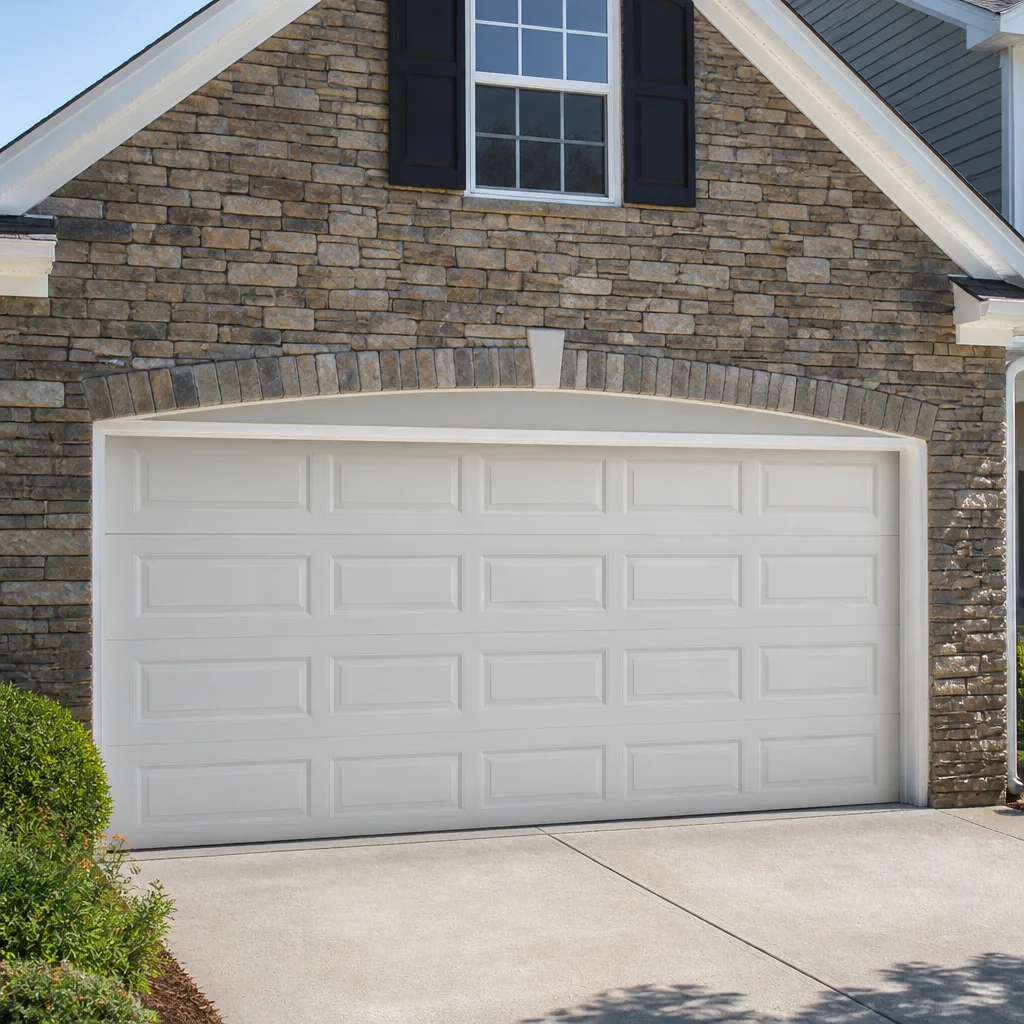 Raised-panel steel
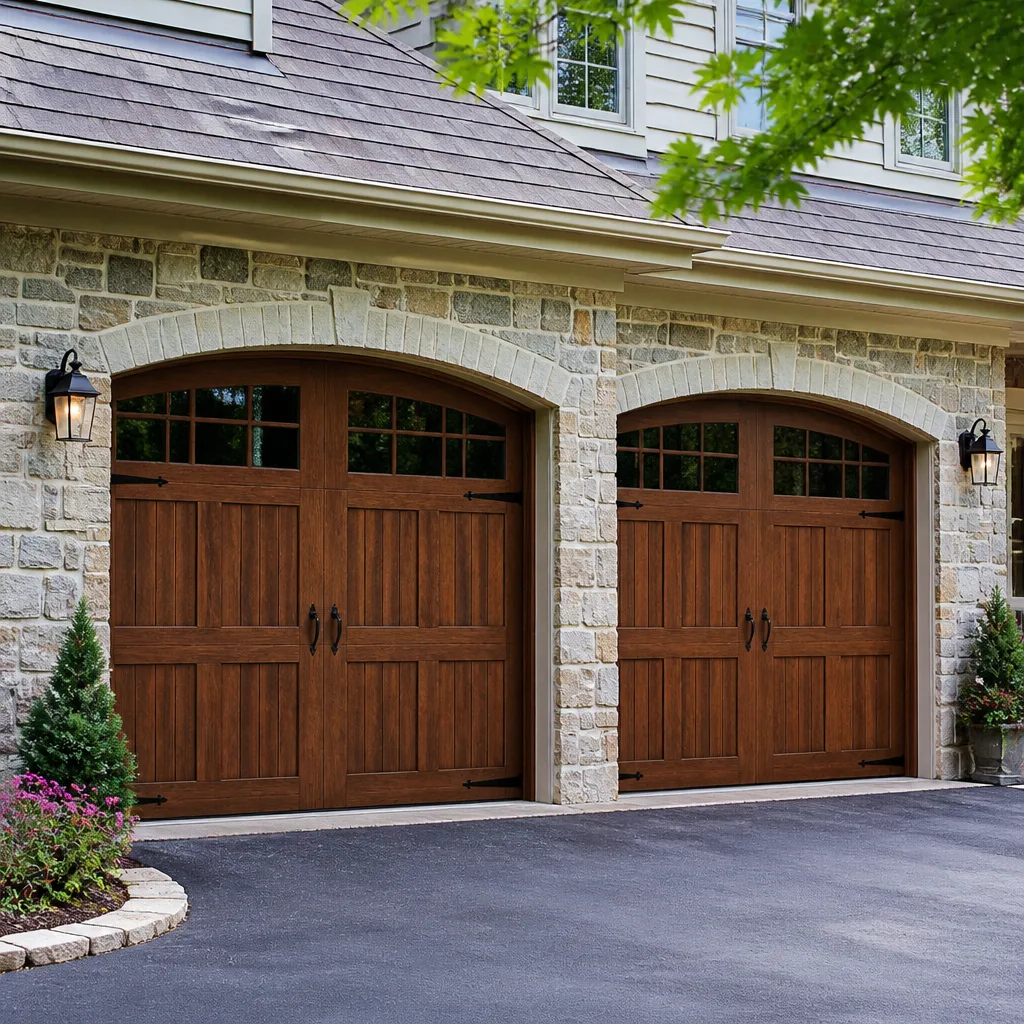 Carriage house
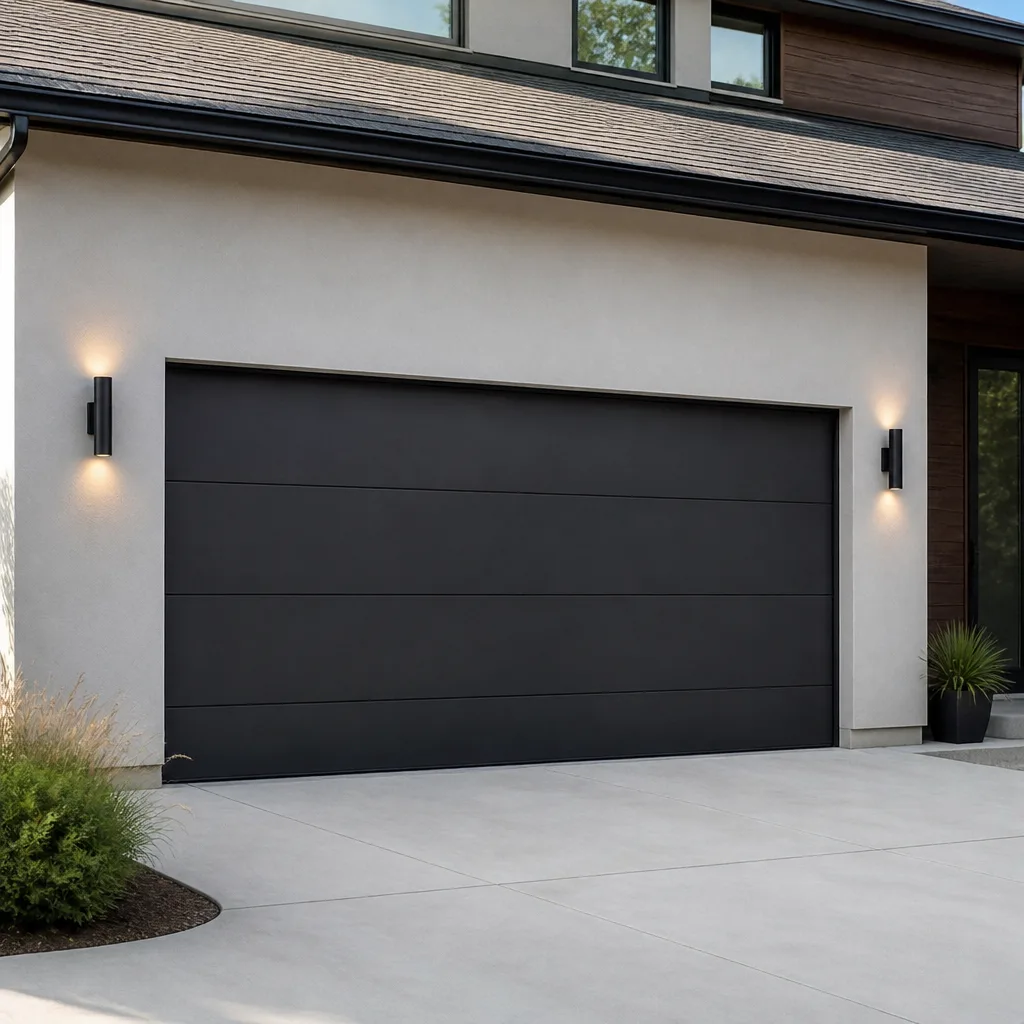 Modern flush
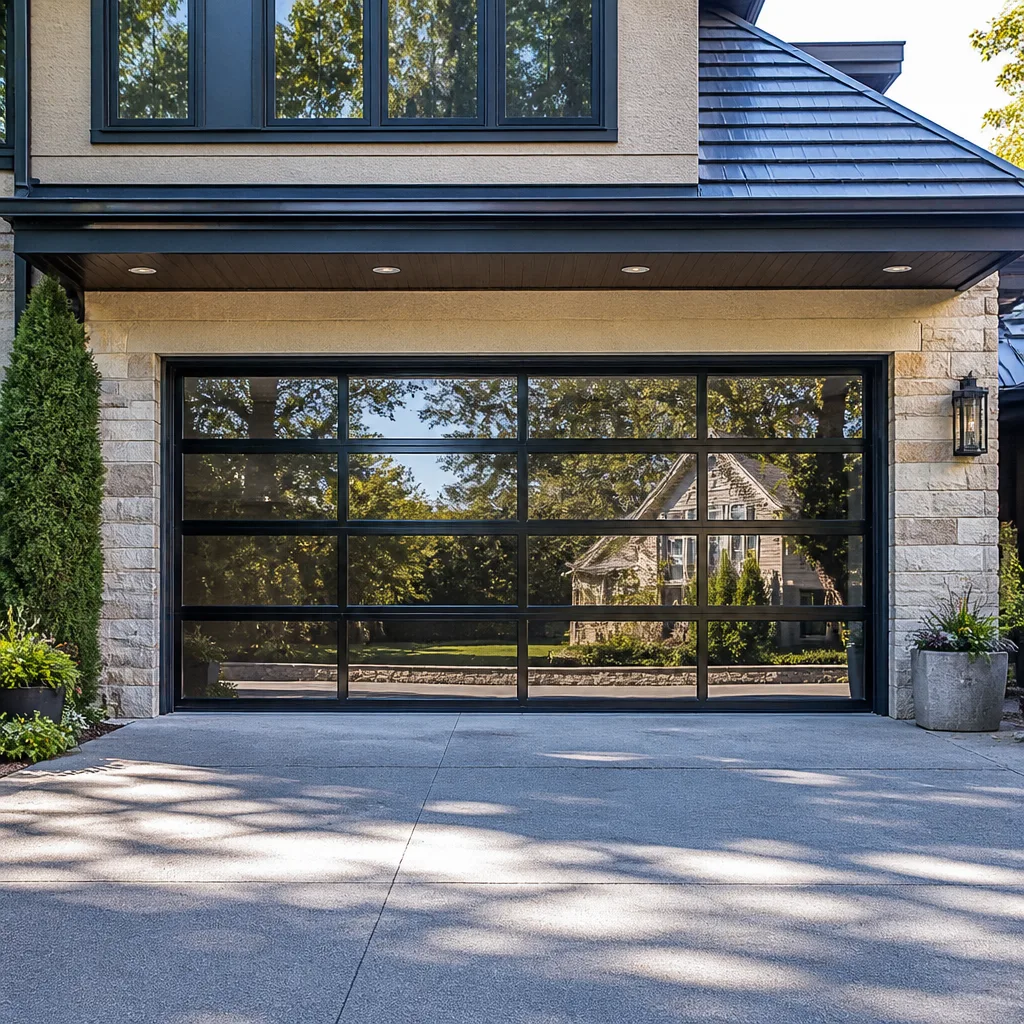 Full-view glass
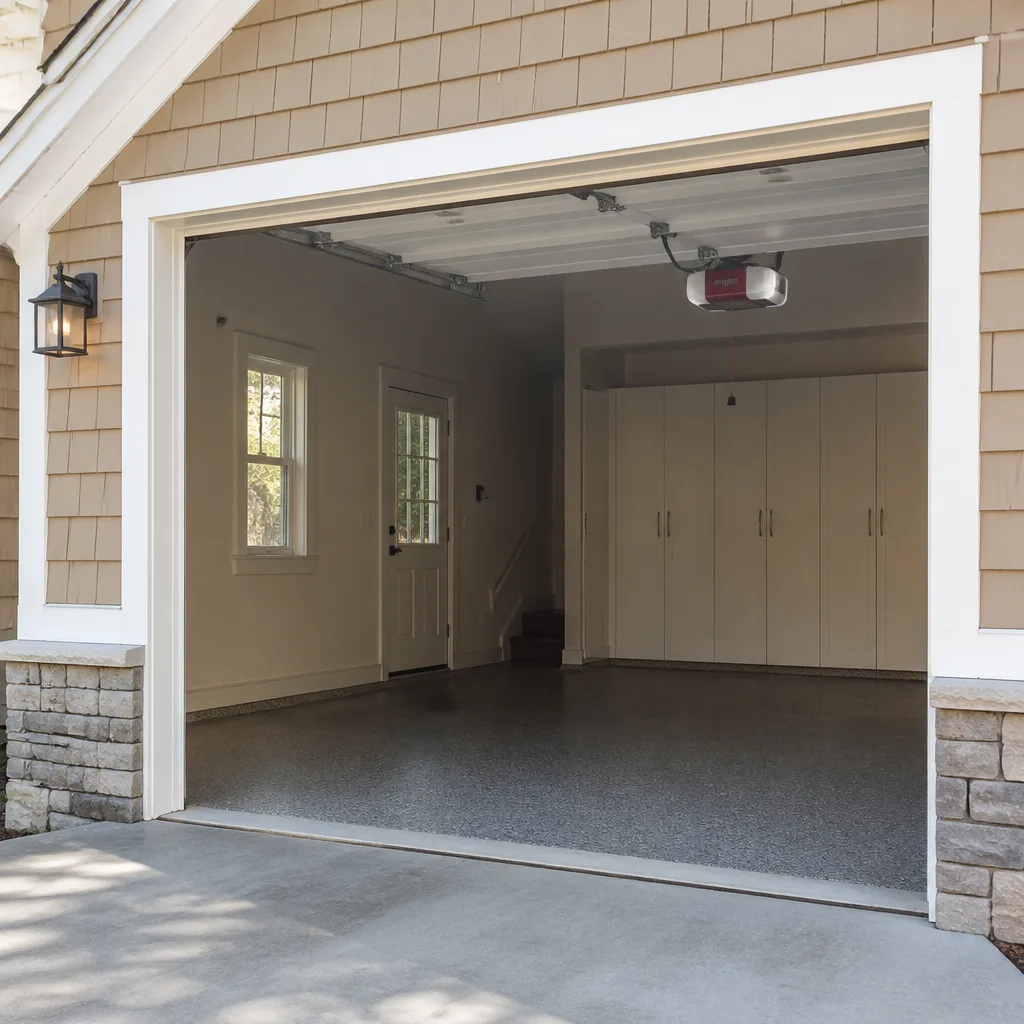 LiftMaster openers
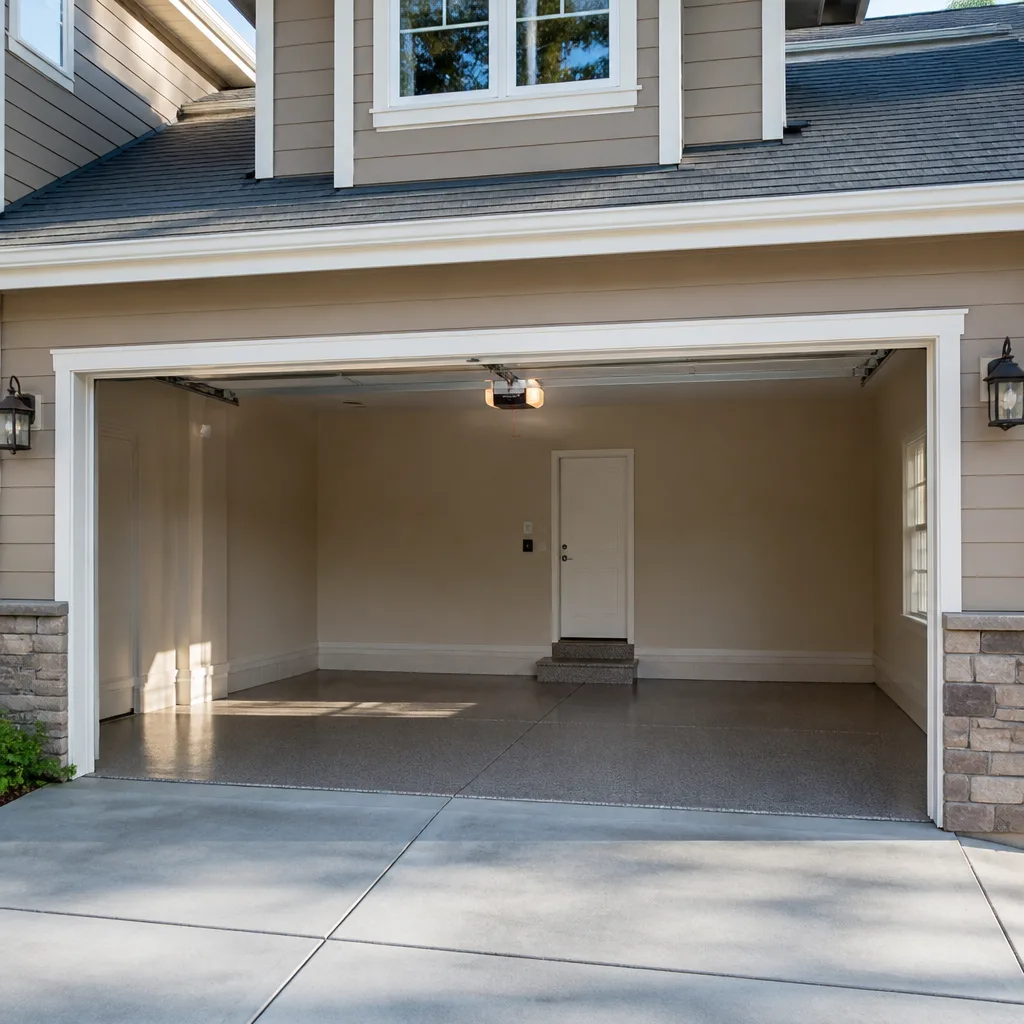 Chamberlain openers
Full 25-point door and opener safety check with every visit - springs, cables, rollers, tracks, and your LiftMaster or Chamberlain opener included
You get a price before we start. It does not change when the pro arrives.
Get your free estimateDIY vs Professional Garage Door: The Providence Homeowner’s Decision Guide
Here’s the idea most homeowners get wrong: that a garage door is either a “call someone” job or a “do it myself” job. It’s neither. A torsion spring holds enough stored energy to break a wrist or worse if it lets go unexpectedly, and that’s not a lawyer talking, it’s physics. But swapping a worn bottom seal is a half-hour project you can learn on a lunch break. Knowing which task sits on which side of that line is the whole game, and it’s what this guide gives you. We’ll walk through the repairs that genuinely save you money, the ones that can land you in the ER, and the spots where Providence’s older housing stock turns a simple install into a headache. By the end you’ll know exactly where the line is for your door.
Quick Answer
Most garage door repair in Providence is a professional job, but not all of it. Weather seals, remote and keypad programming, opener safety-eye alignment, lubrication, and visual inspections are genuinely DIY-friendly and worth doing yourself. Torsion and extension spring work, cable replacement, and track panel realignment are professional-only because of stored energy and the risk of the door dropping. How much of the work falls to a pro depends on the door type and the age of your home, not your skill level.
Styles & brands we work with
- Raised-panel steel
- Carriage house
- Modern flush
- Full-view glass
- LiftMaster openers
- Chamberlain openers
Table of Contents
- The Task-by-Task Risk Matrix
- Why Springs Are in a Different Danger Category
- The DIY Tasks That Actually Save You Money
- DIY Tasks Where Tool Costs Erase the Savings
- How Providence’s Older Homes Change the Math
- What to Do When You’re Mid-Repair and Over Your Head
- Common Mistakes to Avoid
- When to Call a Professional
The Task-by-Task Risk Matrix
Every garage door job sits somewhere on a three-zone map: safe for a homeowner, proceed with caution, or professional only. The dividing line isn’t how hard the job looks. It’s how much stored energy the task releases and how much door weight sits over your head while you work.
Safe DIY (with the right steps)
- Bottom weather seal replacement – A worn rubber seal slides into a track or screws onto the bottom panel. No tension involved.
- Remote and keypad programming – LiftMaster, Chamberlain, and Genie systems all program through straightforward rolling-code steps.
- Opener safety-eye cleaning and alignment – Dirty or bumped photo eyes cause most “door won’t close” calls. A soft cloth and gentle realignment usually fix it.
- Lubrication and visual inspection – Hinges, rollers, and springs benefit from a wipe-down and the right lubricant.
- Replacing a wall-mount pushbutton – Low-voltage wiring, no spring tension.
Proceed with Caution
- Roller replacement – Doable, but you’ll need to lift door weight to unload the roller. Know the door is fully closed and locked before you start.
- Opener adjustment – Travel limits and force settings are easy to change and easy to over-adjust. Too much force and the door crushes an object or a hand before the opener reverses.
- Hinge and bracket bolt tightening – Fine when done with the door in the correct position, not while it’s mid-travel.
Professional Only
- Torsion spring replacement – High-stored-energy work requiring winding bars and correct turns of preload.
- Extension spring replacement – Lower energy than torsion, but still a spring job with cable and safety-cable considerations.
- Cable replacement – Cables carry the door’s full weight. A slip during the job can drop the door.
- Track and panel realignment – Fixing a bent track means unloading door weight from a system already under strain.
- Cable drum and shaft work – These components channel spring energy into door lift. A mistake here is a “call the ER” mistake.
If you’re weighing the trade-offs for one specific repair rather than the whole door, our garage door repair page breaks down how each job is usually assessed on site.
Why Springs Are in a Different Danger Category
Most people lump “springs” into one bucket, but torsion and extension springs fail in very different ways. That difference is the whole reason both stay on the professional-only list, even though a homeowner might reasonably try one and not the other.
Torsion springs
A torsion spring sits on a horizontal shaft above the door and is wound to a specific number of turns to counterbalance the door’s weight. That stored force is large, and it’s held in place by a winding cone on each end. When a torsion spring releases unexpectedly, the winding cone spins, and if a homeowner is working near it at that moment, the injury is serious. This is the classic garage door injury in emergency rooms, and it’s why general handymen often won’t touch torsion work. We keep spring repair in-house for exactly this reason: it demands the right winding bars, the right technique, and a technician who has done the job hundreds of times.
Extension springs
Extension springs run along the horizontal tracks on each side of the door, stretching to counteract weight rather than twisting. They store less energy than torsion springs, but a fatigued extension spring can still snap and throw parts. Extension springs are supposed to have safety cables running through them for exactly this reason. If your door has extension springs without cables, that’s a real risk regardless of who does the repair.
Why “both should stay professional” holds even though the risk differs
Because the failure mode is the problem, not the mechanism. A snapped extension spring, a loose cable, or a track that lets go at the wrong moment all present the same hazard: the door comes down under its own weight while you’re underneath it. A box-store spring kit and a matching-bar turn rate isn’t the safety margin you want to test your wrist against.
When a spring has already broken and your door is stuck open or locked shut, don’t risk the DIY. Call us at (833) 981-3384 for same-day emergency response. Spring repair done safely is our core specialty, and same-day service is a real commitment, not a callback promise.
The DIY Tasks That Actually Save You Money
Here’s the honest math: some DIY garage door work saves real money, and some saves pennies while costing you a Saturday. The tasks in this section are genuinely worth doing yourself, and they’re where homeowners save the most across a door’s life.
- Bottom seal replacement. A worn rubber seal wears out fast in Rhode Island winters, and it’s the cheapest energy-saving repair on the door. You’ll spend twenty to thirty minutes and less than the cost of a service call.
- Programming remotes and keypads. Adding a new remote or resetting a forgotten code on a LiftMaster or Chamberlain opener is a five-minute job. Watch a video for your exact model.
- Lubrication. Wipe down hinges and rollers, apply a few drops of the right lubricant on the pivot points, and skip the springs. A door that gets lubed once or twice a year runs quieter and lasts longer.
- Safety-eye clean-up. If the door won’t close and nothing looks broken, brush off the two photo eyes at the bottom of the tracks. Spider webs and dust cause weeks of “mystery” trouble.
- Visual inspection. Walk around the door with a flashlight once a year. Look for stretched cables, worn rollers, fraying cable ends, and a door that feels heavy when lifted partially. Early detection saves real money later.
For the opener side of the equation, our garage door opener repair page covers what’s safe to reset yourself versus what signals a failing board or motor.
DIY Tasks Where Tool Costs Erase the Savings
Some “I’ll just do it myself” jobs look cheap until you add the tools. Others look expensive but aren’t. This is where homeowners routinely make the wrong call.
- Full spring replacement. Winding bars, correct-torque springs matched to your door’s weight, and the knowledge to set preload correctly. A novice buying tools has spent as much as a service call and still risks injury.
- Cable replacement. Cable kits look cheap at a big-box store, but getting a cable seated and properly tensioned requires unloading the door safely. This is one of the most common places a “small repair” becomes a “replace the whole door” repair.
- Opener replacement. A $200 opener is not a $200 job. Between mounting hardware, correct bracket positions for your door’s geometry, and wiring, a DIY replacement often turns into a long weekend and an undersized bracket that gives way within months.
- Panel replacement on an insulated door. A single damaged panel seems simple, but on Clopay and Amarr panels you’re matching color, profile, and insulation spec. Sourcing the correct panel is often the hard part.
- Track realignment after a vehicle impact. The track is what keeps the door moving in a straight line. Straightening a bent track requires unloading the door weight first, which puts you right back in professional-only territory.
On the other side of the ledger, a new door installation is never a DIY job. Our garage door installation page walks through how a proper install is measured and fitted to your opening instead of the other way around.
How Providence’s Older Homes Change the Math
Providence’s housing stock is a real factor, and competitors gloss over it. A lot of the city’s housing dates from the early 20th century. That shows up in garage door work in ways that can quietly wreck a DIY install.
- Non-standard header heights. Older homes often have a garage opening that doesn’t match the standard sizing a new door is built to. A door that measures “close enough” for shipping isn’t close enough for a clean fit, and the gap looks terrible after the first winter.
- Outdated track systems. Older doors frequently use track profiles and bracket layouts that modern doors aren’t designed for. Trying to match a new door to old tracks means the door runs rough and the opener works harder than it should.
- Uneven floors and sloping aprons. Warmer-climate homes hide this better than New England ones. A garage apron that has heaved from freeze-thaw means the door seals poorly at the bottom unless it’s set with that slope in mind.
- Wider-than-standard openings. A lot of the older two-car garages in neighborhoods like Elmwood and the West End have generous opening widths. Ordering a standard-width door without measuring is the fastest path to a return.
- Electrical for modern openers. Older garages sometimes lack a properly placed outlet or wiring for a smart-connected opener. Adding a LiftMaster or Genie with Wi-Fi access means planning the wiring run, not just swapping the unit.
None of these make DIY impossible. They do make it riskier than it looks. Measuring twice, taking photos, and confirming your opening’s actual dimensions before you buy anything saves more headaches than any single technique tip.
What to Do When You’re Mid-Repair and Over Your Head
This situation comes up more than homeowners admit. You’ve started a job, something feels wrong, and now you’re holding a half-disassembled door. The right move is to stop and leave the door in the safest possible state, not to keep pushing. Here’s how to get to that safe point.
- Stop working. Don’t force anything. If you’re fighting resistance, that resistance is telling you something. Prying, twisting, or forcing forward is how parts snap.
- Never let a door hang partially off its tracks. If any panel has come away from the track, the door is unstable. Do not walk under it, do not open or close it by hand, and do not cycle the opener.
- Get the door fully closed if it will go there safely. If the door runs freely, close it fully, then disconnect the opener with the manual release, and physically prop or block the door from moving. If the door will not close without force, leave it open and keep people and vehicles away from it.
- Disconnect the opener. Pull the emergency release cord to detach the door from the opener motor. This prevents the opener from moving a door that isn’t safe to move.
- Do not try to remove or reinstall a spring. If you’ve removed a winding bar or are partway through a spring job, stop. Springs that aren’t fully wound or unwound correctly can release. Leave it exactly as it is.
- Clear the area and call a professional. Move anything breakable away from the door line. Keep kids and pets out of the garage. Then call for help.
Call us at (833) 981-3384. A partially disassembled door is an emergency response job in our book, and we know how to make the door safe before we start the actual repair. Our Providence Garage Door Repair Pros team treats these situations as priority calls, not just add-ons to a service schedule.
If the door has already broken
The same rules apply if the door is broken rather than half-disassembled. A snapped spring, a snapped cable, or a door that has left its tracks all leave you with the same safety consideration: the door’s full weight is unsupported. Don’t lift a broken door to “check on it.” Don’t operate the opener to see if it’s really broken. Call instead.
Common Mistakes to Avoid
- Working on the door while the opener is still engaged. The opener can cycle the door while you’re underneath it. Always disconnect the manual release before any hands-on work.
- Buying a spring or opener before measuring. A door’s spring is important, but so is the door’s weight and balance. Springs are matched to weight, not just to door width, and an opener sized for a single-car door will struggle with a heavier double-car unit.
- Assuming any handyman handles springs. Many general handymen won’t touch torsion springs, and that’s a reasonable decision on their part. Hiring someone without the specific tools and training to wind a spring safely doesn’t save you money. It just shifts who’s at risk.
- Replacing a whole door when only one panel or the seals need work. A repair-first mindset saves real money. A damaged panel doesn’t always mean the whole door is done.
- Ignoring a New England freeze-thaw cycle on a seal. A seal that was tight in October can be loose and dragging by February. A less-than-five-dollar fix becomes a door that doesn’t close cleanly if you don’t check it.
- Adjusting the opener’s force setting to compensate for a stiff door. Increasing force to overcome a rough track is the wrong fix. It buys you a few weeks and then wears out the opener and the door together.
- Buying a Wi-Fi opener without checking your home’s Wi-Fi signal in the garage. A LiftMaster or Chamberlain unit that can’t hold a signal to your garage will cause You a lot of resetting headaches. Test the signal before you buy.
When to Call a Professional
Call a professional when the work involves stored spring energy, the door’s full weight, or anything that could drop the door. That includes torsion or extension spring replacement, cable replacement, track realignment, and any job where a spring has broken. It also includes any time you’ve started a repair and realized the door is unstable or partially disassembled. And it includes panel replacement that requires matching an existing door profile, plus opener diagnostics when the problem isn’t obviously a remote or a photo eye.
Providence Garage Door Repair Pros offers free estimates in Providence. We work with the major brands – LiftMaster, Chamberlain, Genie, and Clopay among them – and our technicians have up to 10 years of experience. Call (833) 981-3384 for a free estimate. If the door is stuck open, unsecured, or mid-repair, we treat it as an emergency call, not a callback.
See the difference
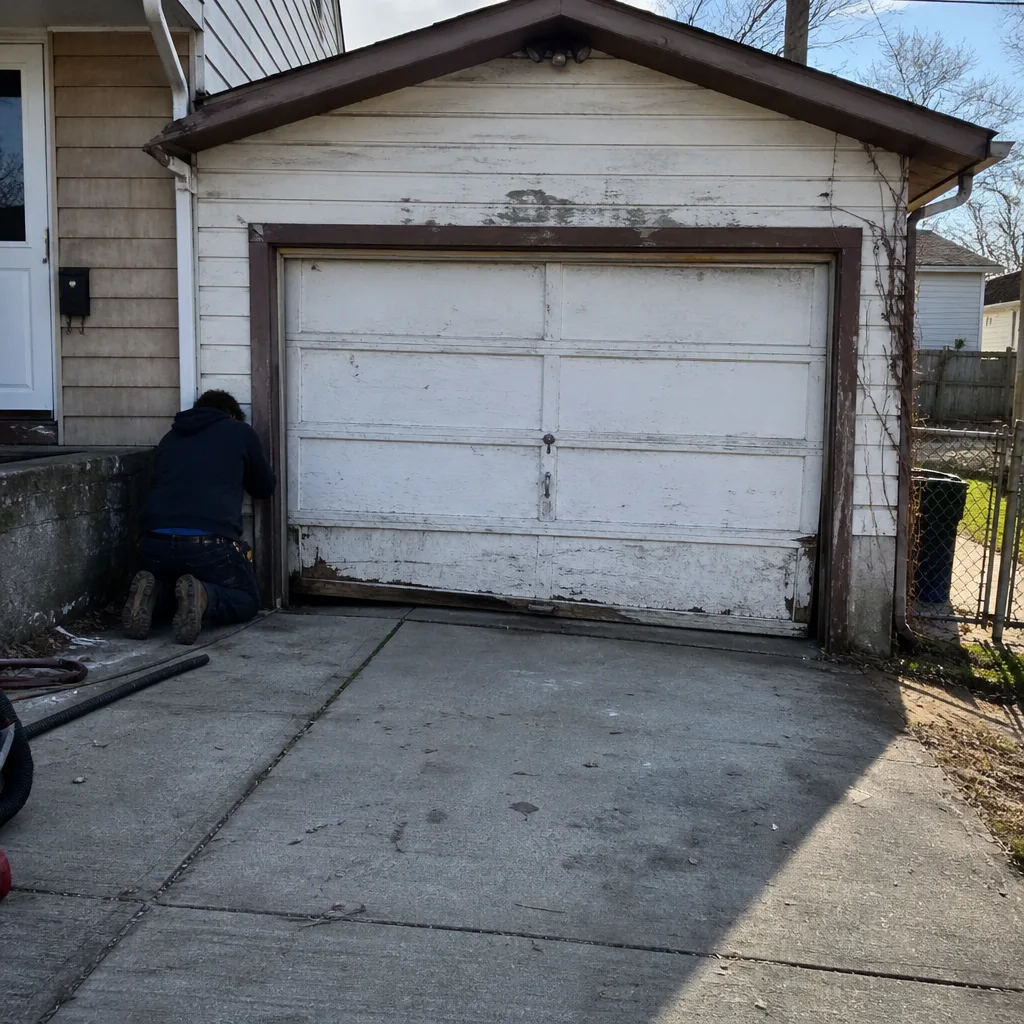 Before
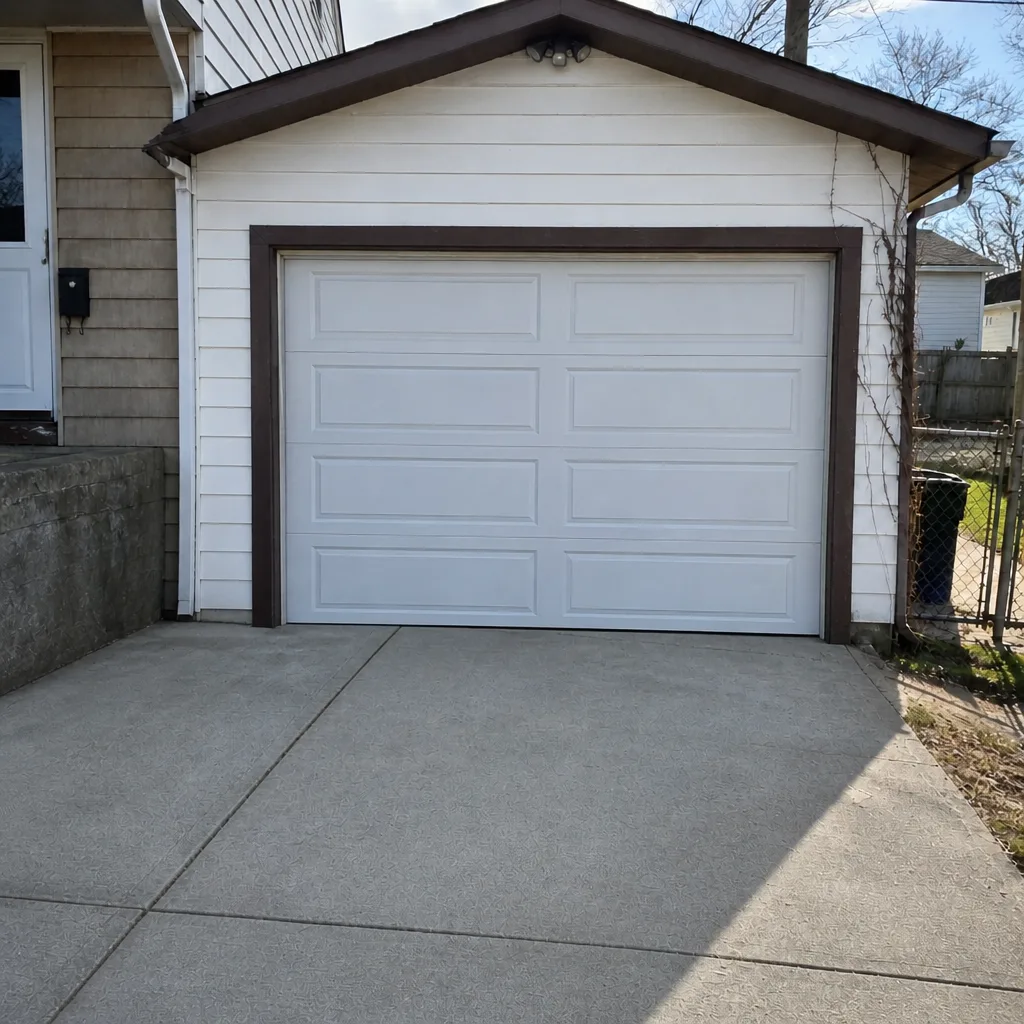 After
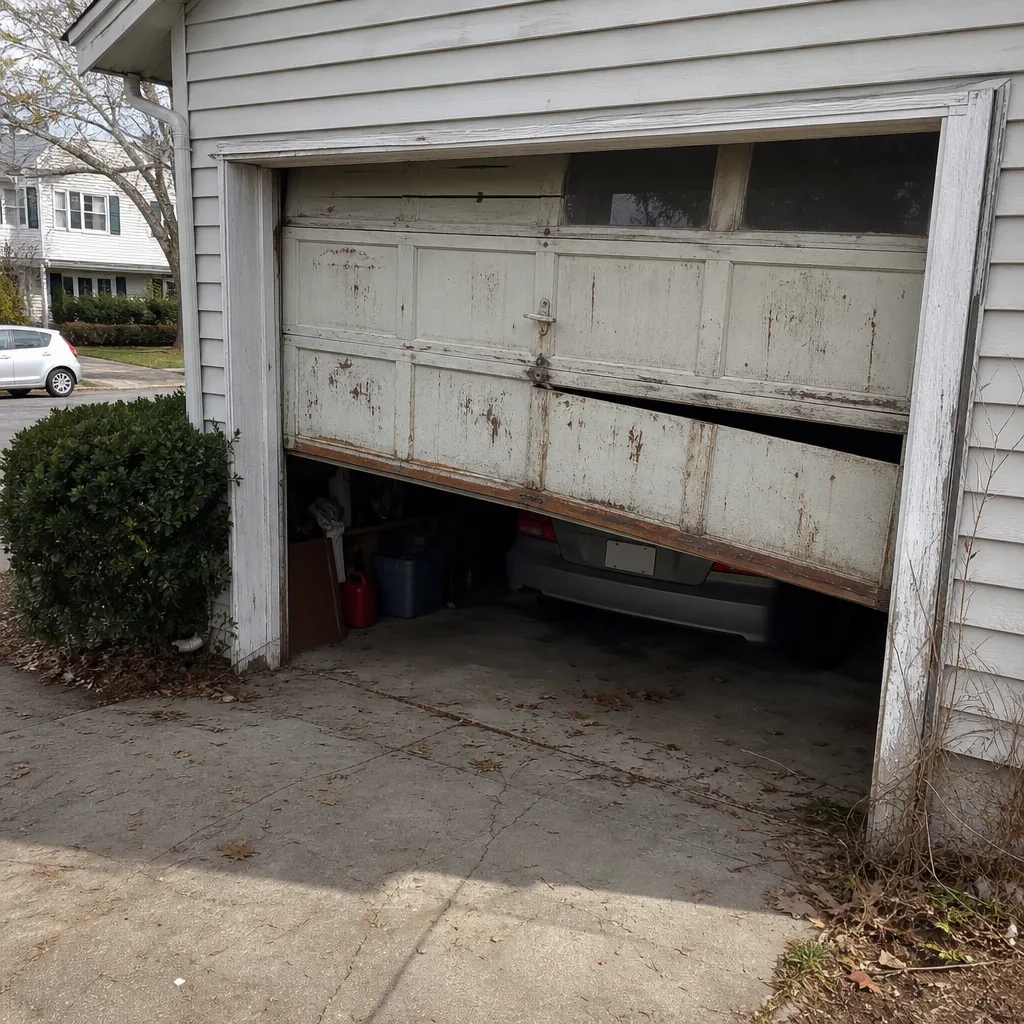 Before
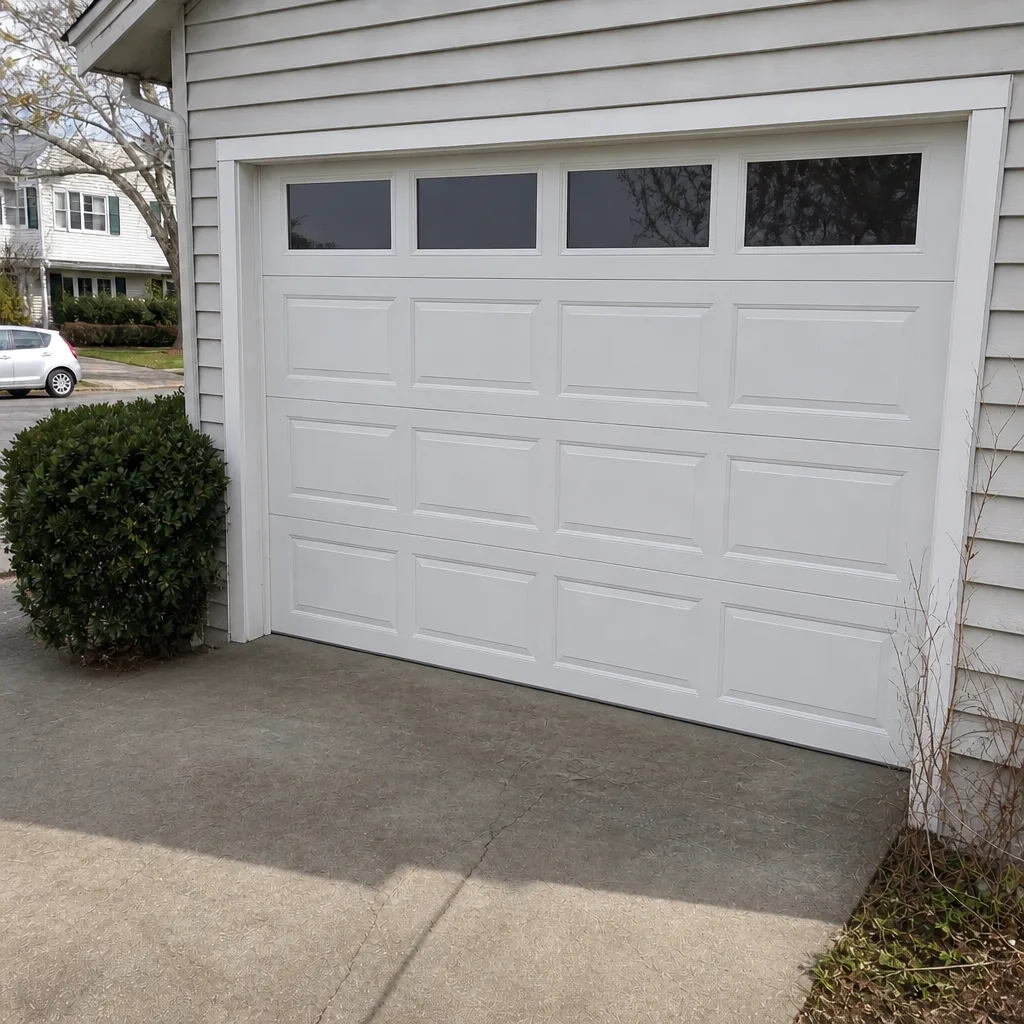 After
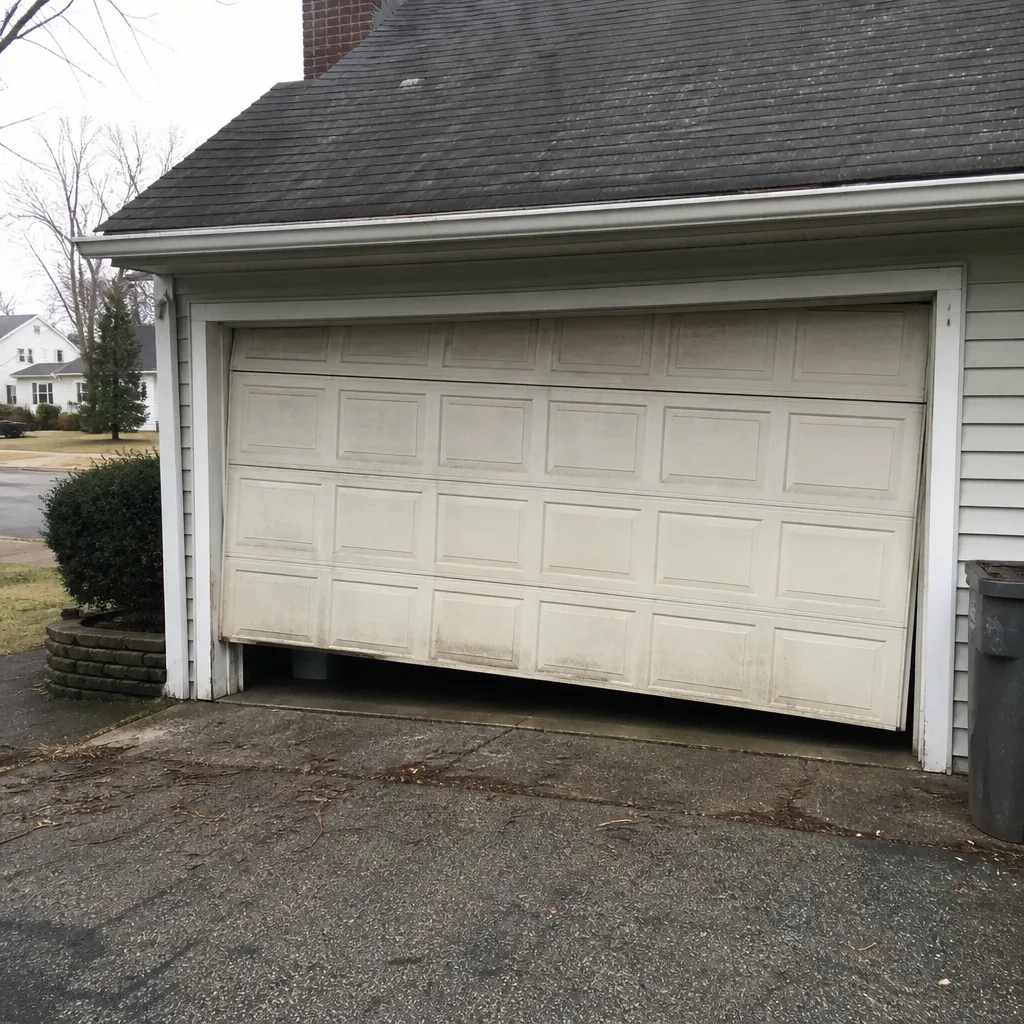 Before
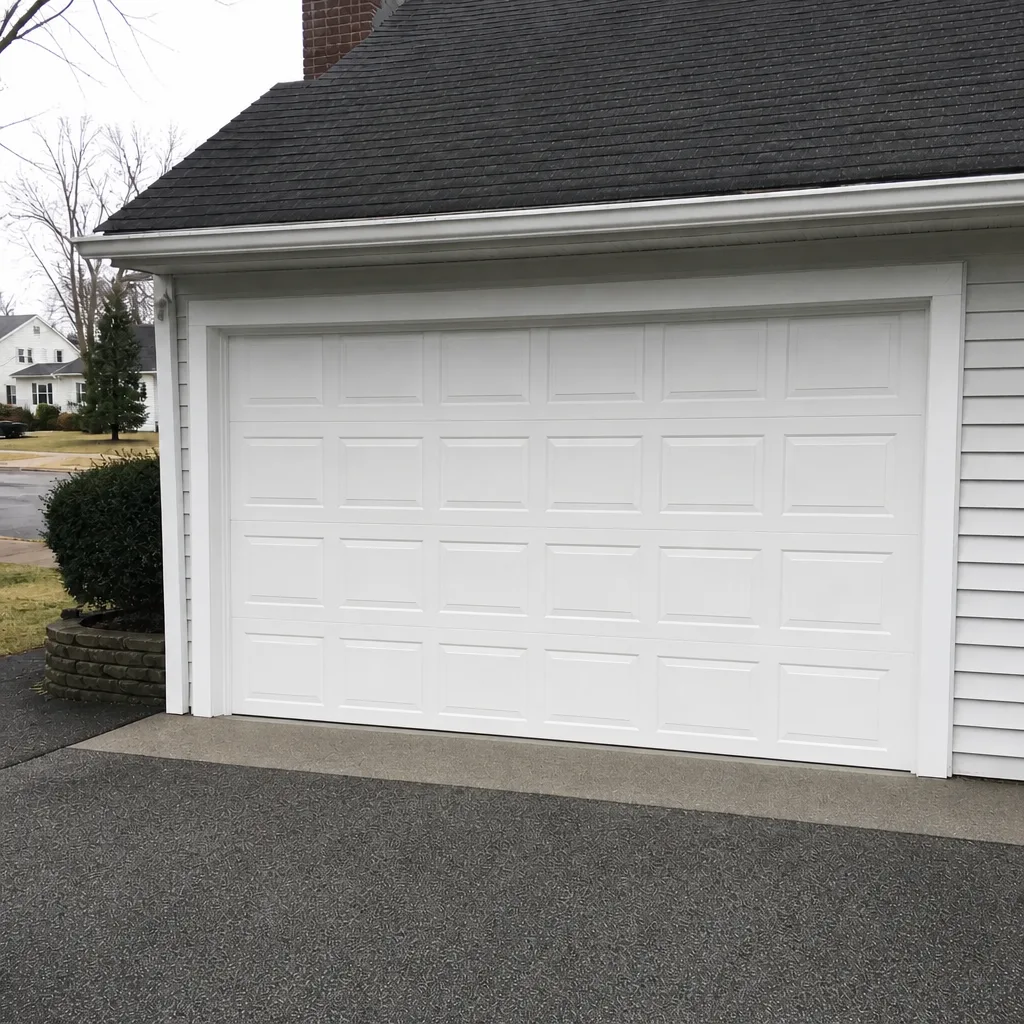 After
Frequently Asked Questions
You shouldn’t, and no responsible guide would tell you to. Torsion springs store enough energy to cause serious injury when released unexpectedly, and extension springs carry enough stored force to move parts violently if a fatigued spring snaps. Spring replacement requires matched parts, correct preload, and specific tools. That’s why we keep spring repair in-house. Call (833) 981-3384 and we’ll get your door safe before anything else.
Yes, usually. A bottom seal replacement is genuinely homeowner-friendly, it takes under an hour, and the seal is the part that takes the most abuse from Rhode Island freeze-thaw cycles. Buy a seal that matches your door’s track profile, not just a generic one. If the bottom section or door frame is damaged, that’s when you should call us instead.
Look at the spring position. A torsion spring sits on a horizontal bar above the door, running left to right. Extension springs sit along the horizontal tracks on each side, running front to back. If you see a spring above the door with a winding cone on each end, that’s torsion. If the springs stretch along the tracks, those are extension springs. Both are professional-only jobs regardless of type, though a door with extension springs and no safety cables inside them is a particular safety concern.
Usually it costs less overall. A novice buying winding bars or a second opener to replace a failed one adds up to more than a service call, and the risk of a partial fix that fails again in a few months is real. For spring and cable work specifically, DIY is not a way to save money, it’s a way to increase your physical risk. Call (833) 981-3384 for a free estimate on any repair before you buy anything.
First, don’t force it closed and don’t run the opener. Get the door into whatever position is stable, disconnect the opener with the manual release, and keep people away from the door line. Then call us. Emergency garage door response is a core part of what we do, not an upsell. Reach us at (833) 981-3384 and we’ll respond same-day for a door that’s stuck open.
The local pro is licensed and insured as their state requires. Our technicians are vetted, and we match the right technician to the job based on the door and opener brand you have. For a spring, cable, or full install, that matters because the technician needs to know your specific system before they arrive. Call (833) 981-3384 and tell us your door brand when you call for a free estimate.
The Bottom Line
Garage door repair in Providence splits cleanly into three camps: safe DIY, proceed with caution, and professional only. Seals, remotes, safety eyes, and lubrication are worth your time. Springs, cables, tracks, and panel installs are not, because the failure mode is physical, not cosmetic, and the risk to your wrist or the door’s weight going somewhere unexpected doesn’t change at home. Providence’s older housing stock makes measuring and confirming opening specs more important than the average market. If you’re not sure where a job sits on the matrix, call and ask. We’ll tell you straight, and the written estimate sets the price before any work starts. Call (833) 981-3384 for a free estimate.
Written by the team at Providence Garage Door Repair Pros.